Constructing an inground lap pool is a fantastic way to enhance your backyard! Start by evaluating if your space can accommodate a pool, guaranteeing you consider size, shape, and existing landscaping. Next, you’ll need to secure blueprints and permits to comply with local regulations. Excavation follows, where proper installation is key. Don’t forget landscaping for aesthetics and maintenance solutions. Want to make sure your pool meets all your needs? There’s much more to explore!
Key Takeaways
- Assess your backyard’s size, shape, and terrain to ensure it accommodates a 45-foot lap pool and additional equipment space.
- Obtain necessary permits and collaborate with licensed professionals for accurate blueprints and installation compliance with local regulations.
- Prepare the site with proper excavation, ensuring effective drainage and a stable foundation with a cement collar before pouring the concrete shell.
- Choose durable materials for the pool structure, such as concrete or vinyl, and consider safety features like offset steps for accessibility.
- Implement a regular maintenance routine, including water quality management and debris removal, to keep the pool in optimal condition.
Can Your Backyard Handle a Pool?
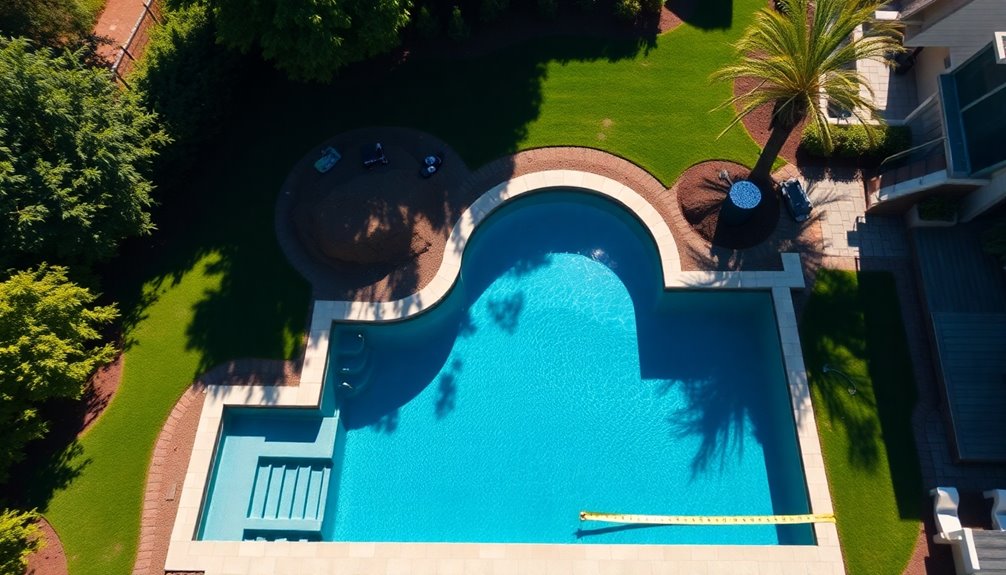
Can your backyard handle a pool? First, assess the size and shape of your space to guarantee it can accommodate a lap pool, ideally at least 45 feet long for effective swimming.
Look for any rocky or hilly terrain that might complicate the installation process and increase costs due to excavation.
Don’t forget to plan for additional space for plumbing equipment and a deck, as these elements enhance your backyard oasis.
You should also check for overhead power lines or existing utilities that might need relocation to meet safety regulations.
Stage 1: Blueprints and Permits
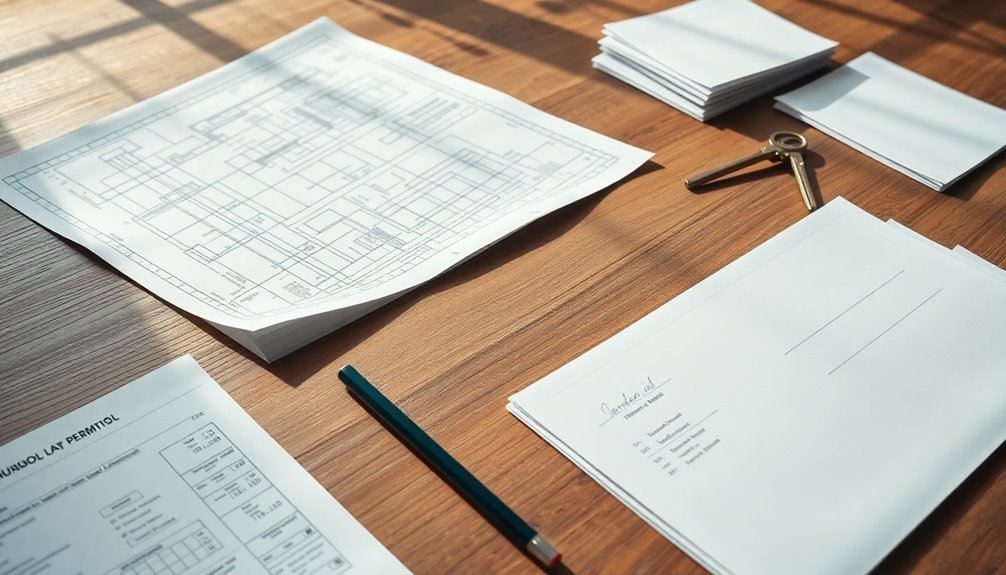
After confirming your backyard can accommodate a pool, the next step is to tackle the necessary blueprints and permits.
Start by obtaining approvals from your local city and Homeowners Association (HOA) to guarantee compliance with regulations. Assess your property for easements and setback requirements, as these can impact your pool design.
Obtain necessary approvals from your city and HOA, and assess easements and setbacks to ensure your pool design complies with regulations.
Collaborate with a licensed contractor and engineer to create detailed blueprints that include all your desired features. Once your blueprints are ready, submit them along with the necessary permit applications to the city planning and development department.
Make sure your plans account for any existing utilities or underground structures to avoid complications during construction. This careful preparation will set a solid foundation for your pool project.
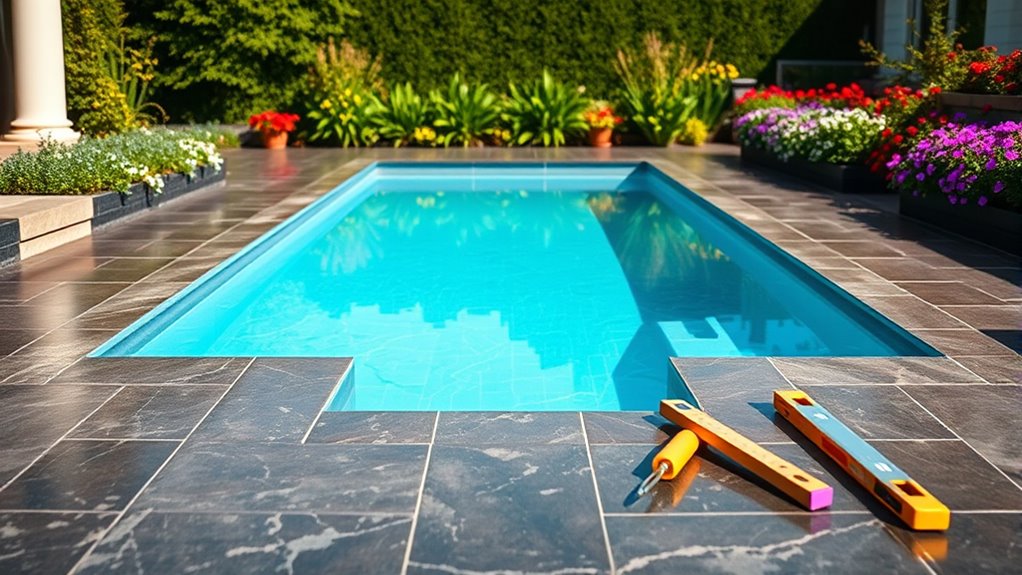
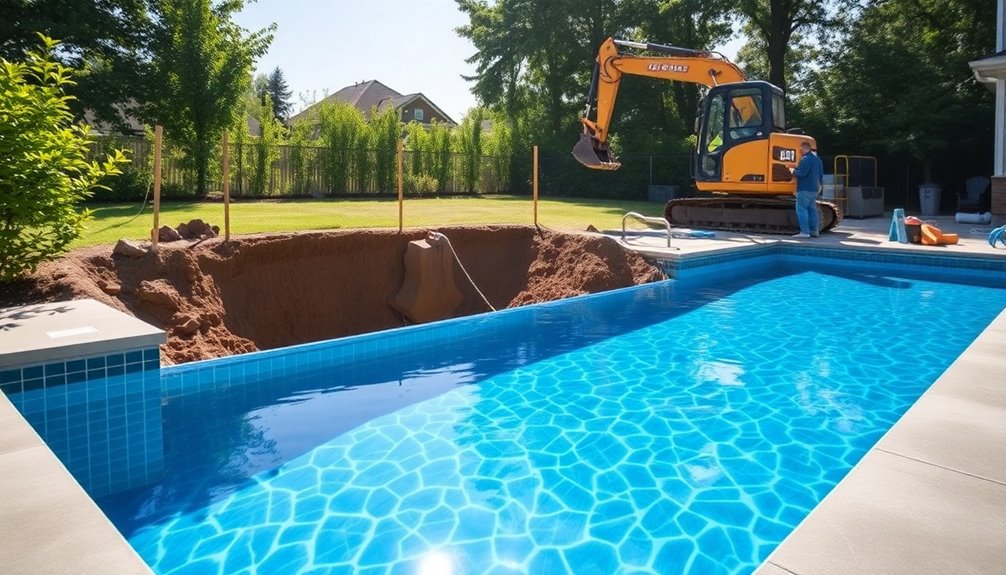
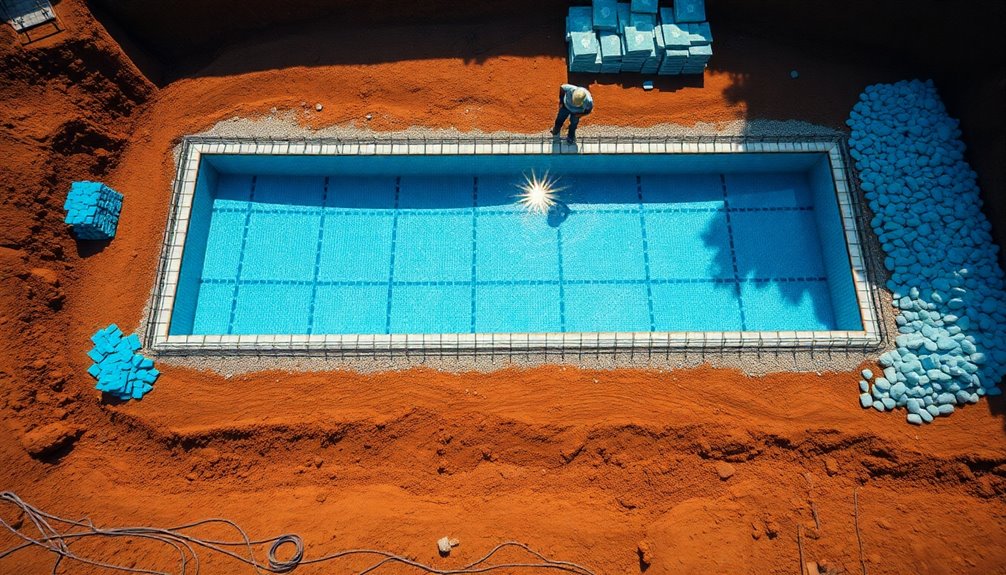
Stage 2: Excavation & Installation
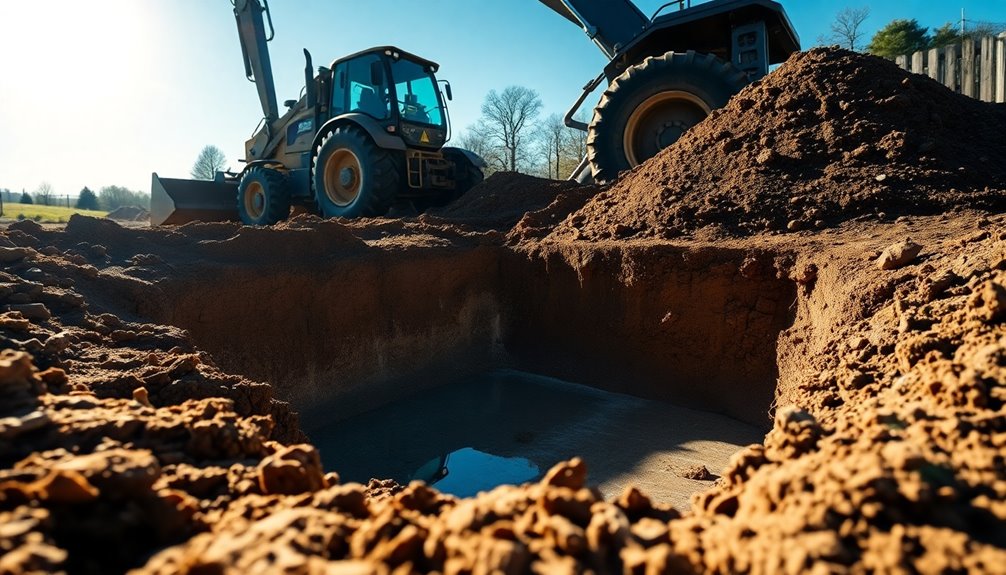
In Stage 2, you’ll prepare your crew and equipment for the excavation and installation process.
It’s crucial to confirm everything is ready for precise digging and the concrete pouring, as this sets the foundation for your lap pool.
With the right setup, you can achieve a smooth installation that meets your design specifications.
Equipment and Crew Preparation
Effective preparation of equipment and crew is vital for a successful lap pool installation. Hiring a skilled construction crew or renting the right machinery guarantees efficient excavation and installation. Proper clearing and leveling of your backyard is important to avoid structural issues later on.
Before you embark on the installation, lay wiring for pool lighting and plumbing to streamline the process. A cement collar and framework will provide a solid base, guaranteeing durability.
Here’s a quick overview of the essential equipment and crew roles:
| Equipment | Crew Preparation |
|---|---|
| Excavators | Skilled operators |
| Dump trucks | Site supervisors |
| Concrete mixers | Laborers |
| Leveling tools | Electricians |
| Plumbing tools | Site safety officers |
Concrete Pouring Process
With the excavation and preparation complete, the next step in constructing your inground lap pool is the concrete pouring process.
You’ll start by installing a cement collar and framework, providing a stable foundation for your pool structure. The concrete, typically gunite or shotcrete, is then poured to create the pool shell, reinforced with steel rebar for durability.
Proper curing is essential; monitor it closely to guarantee even hardening and strength. Once poured, shape and smooth the concrete to form the interior surfaces, balancing aesthetic appeal with functional design.
Don’t forget to install plumbing for water circulation and any integrated components during or right after pouring to avoid complications later in the pool building process.
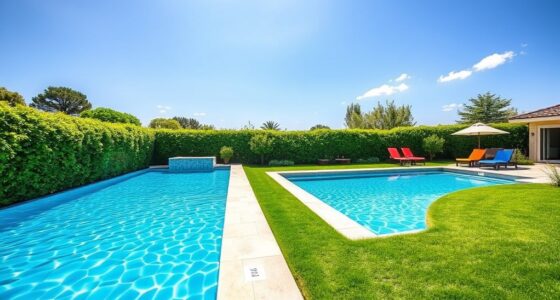
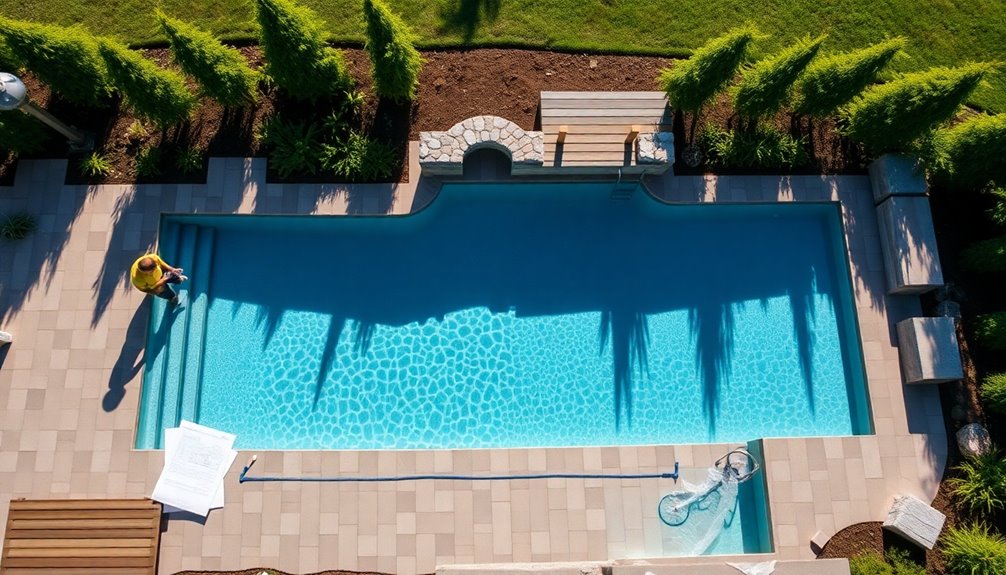
Stage 3: Landscaping & Decor
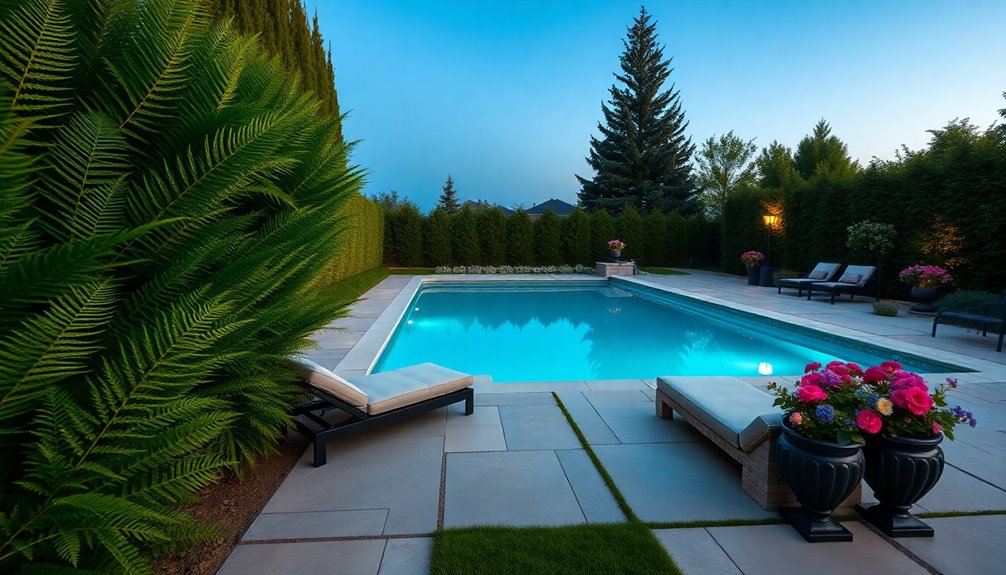
As you plan your inground lap pool, remember that landscaping and decor play an essential role in creating an inviting atmosphere.
Choose pool-friendly trees and plants that enhance visual appeal while minimizing debris in the water. Incorporate decorative elements like umbrellas, recliner chairs, and outdoor furniture to create a comfortable space for relaxation and entertainment.
Select trees and plants that beautify your pool area while reducing debris, and add comfortable furnishings for relaxation and enjoyment.
Proper drainage planning is vital to prevent waterlogging in the pool area, ensuring safety and ease of maintenance. Use materials like stone, pavers, or wood for decking that complements your backyard’s aesthetics while providing a stable area for activities.
Don’t forget to add lighting features, such as LED or solar lights, to enhance the ambiance and illuminate walkways during evening use.
Stage 4: Cannonball
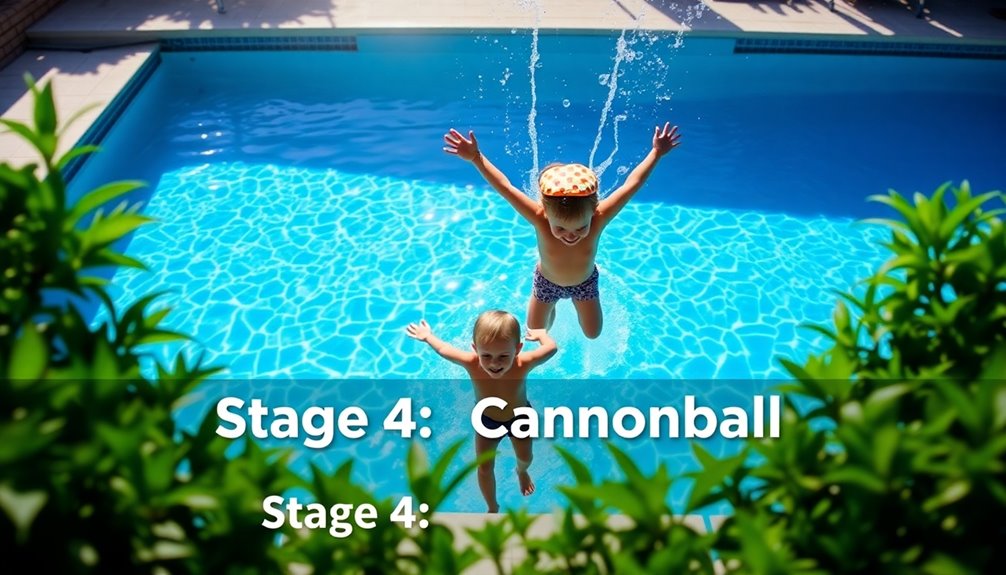
Once you’ve completed the construction and filled your inground lap pool with water, it’s time to plunge into the fun! This exciting time marks the beginning of countless memorable gatherings with family and friends. Your backyard transforms into a personal oasis for relaxation and leisure, perfect for year-round swimming and fitness activities. Engaging in water activities can also help you explore unexplained phenomena and deepen your appreciation for the mysteries of life.
Here’s a quick look at what you can enjoy:
| Activities | Benefits |
|---|---|
| Family Gatherings | Strengthens bonds |
| Exercise | Boosts fitness |
| Relaxation | Reduces stress |
| Entertainment | Fun for all ages |
| Increased Value | Enhances property appeal |
Embrace your new swimming pool, and watch as it enriches your lifestyle for all seasons!
Types Of Lap Pools
After enjoying the fun of your new inground lap pool, it’s time to explore the various types of lap pools available to suit your needs.
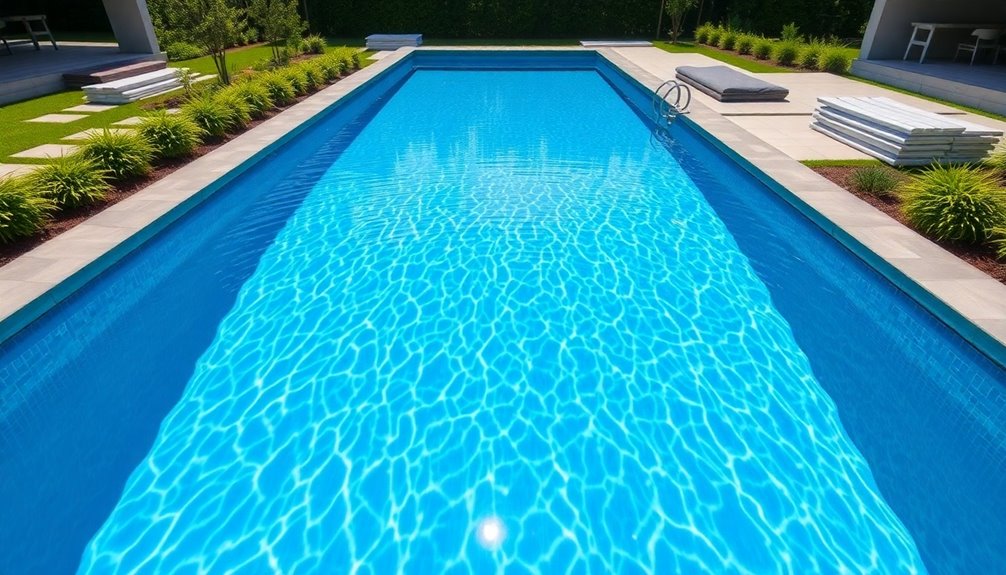
Traditional lap pools typically need to be at least 45 feet long to effectively accommodate swimming practice. For unique preferences, you can choose between chlorinated or saltwater systems.
Traditional lap pools should ideally be 45 feet long, with options for chlorinated or saltwater systems to suit your needs.
If space is limited, consider a spool pool, which is a compact version designed for smaller areas and may include features like artificial currents for a better swimming experience.
Materials vary, too—acrylic sheets, vinyl, and concrete all offer different durability and maintenance levels.
Don’t forget to think about safety; many lap pools feature offsetting or narrow internal steps to enhance accessibility.
Things To Consider For Designing The Perfect Lap Pool
When designing your perfect lap pool, consider the ideal dimensions and depth to enhance your swimming experience. Aim for at least 45 feet in length and a minimum depth of 4 feet, while also thinking about the surrounding area materials for easy maintenance.
Choosing the right materials won’t only help prevent waterlogging but also create a visually appealing space.
Ideal Dimensions and Depth
Designing the perfect lap pool involves careful consideration of dimensions and depth to create an ideal swimming experience.
For effective swimming, aim for a minimum length of 45 feet, with lengths of 65 to 75 feet enhancing your practice.
When it comes to width, at least 4 feet works for solo swimmers, but 8 to 10 feet is better for multiple users.
Make certain your pool has a minimum depth of 4 feet; if diving’s in the plan, increase it to 6 feet.
To further improve your experience, consider a wider middle section of up to 16 feet to reduce water chop when two swimmers are present.
Surrounding Area Materials
Creating an inviting and functional surrounding area for your lap pool is essential for both aesthetics and safety. Here are some key considerations for your design:
- Durable Surrounding Surfaces: Use concrete, tile, or wood to guarantee longevity and visual appeal.
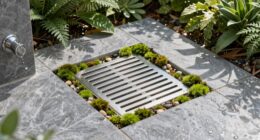
- Effective Drainage Systems: Plan for proper drainage to prevent waterlogging and maintenance issues.
- Safe Access: Confirm there’s ample space around the pool for easy movement and maintenance without obstructions.
- Slip-Resistant Materials: Choose decking materials that provide traction, especially in wet conditions, to enhance safety.
Incorporating these elements won’t only elevate the look of your lap pool but also assure a safer environment for you and your guests.
Installing A Lap Pool
To successfully install a lap pool, you need to start with proper excavation to shape and size the pool to your specifications.
Once you’ve dug the area, verify the groundwork is sound by leveling the space and establishing effective drainage. A cement collar adds stability before you pour the concrete shell.
Ensure the groundwork is solid by leveling the area and implementing proper drainage before pouring the concrete shell.
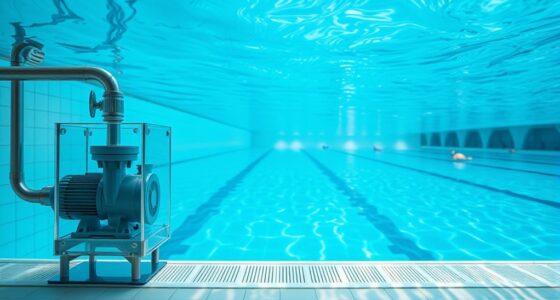
During installation, don’t forget to include necessary equipment like pumps, filters, and skimmers to keep your pool running smoothly. Consider adding lane lines to manage water chop and enhance your swimming experience.
After the pool is set, focus on landscaping around the area; it not only beautifies your space but also improves functionality by preventing waterlogging.
For best results, consider hiring professionals for the installation.
Maintaining A Lap Pool
Although maintaining a lap pool might seem challenging, it’s actually simpler and more cost-effective than caring for traditional pools.
To keep your lap pool in top shape, follow these essential maintenance tips:
- Clean Regularly: Use hand vacuums or robotic cleaners to remove debris, and schedule professional cleaning services as needed.
- Optimize Water Quality: Consider installing a saltwater generator to minimize chlorine use and reduce daily water testing.
- Adjust Return Jets: Properly align pool pumps and return jets to enhance swimmer comfort and improve water circulation.
- Cover Your Pool: Utilize a pool cover to retain heat, reduce heating costs, and decrease maintenance frequency.
Frequently Asked Questions
What Is the Best Depth for a Lap Pool?
The best depth for your lap pool typically starts at 4 feet, which guarantees safety and comfort for most swimmers.
If you plan on diving or more intense swimming activities, consider a depth of 6 feet. A deeper pool can also minimize water chop, making it more enjoyable for multiple users.
Think about your specific needs, like competitive training, as that may require deeper ends for flip turns and enhanced performance.
How to Build an Inground Pool Step by Step?
Building an inground pool might seem overwhelming, but it’s totally manageable with a step-by-step approach.
Start by securing permits and creating blueprints that meet local regulations. Next, prepare your site with proper grading and layout marking.
Hire an excavation crew to dig, then install plumbing and steel rebar. After forming the pool with gunite, add tiles and decking.
Finally, plaster the interior, fill it with water, and balance the chemicals for fun!
What’s the Most Expensive Part of Building an Inground Pool?
The most expensive part of building an inground pool is usually excavation and site preparation. Depending on your terrain’s complexity, this can set you back anywhere from $1,000 to $5,000 or more.
After that, the pool structure materials, like concrete or fiberglass, often add considerably to your budget.
Don’t forget about installation costs for pumps and filters, as well as labor, which can take up to 50% of your total expenses.
What Is the Minimum Distance for a Lap Pool?
When you think of a lap pool, the ideal size contrasts sharply with a small backyard pool. For effective training, you’ll want a minimum length of at least 45 feet.
If you’re swimming solo, a width of 4 feet will suffice, but for more comfort, consider expanding to 8-10 feet. Depth should be no less than 4 feet, ideally increasing to 6 feet for safety and diving fun.
Conclusion
Now that you’re armed with the ultimate guide to inground lap pool construction, you’re just steps away from transforming your backyard into a personal paradise. Imagine diving into crystal-clear waters, feeling the sun kiss your skin, and soaking up the envy of every neighbor. With a few simple stages, you’ll create a stunning oasis that’ll make every day feel like a luxurious vacation. So grab your gear, and let’s make a splash that’ll leave everyone breathless!