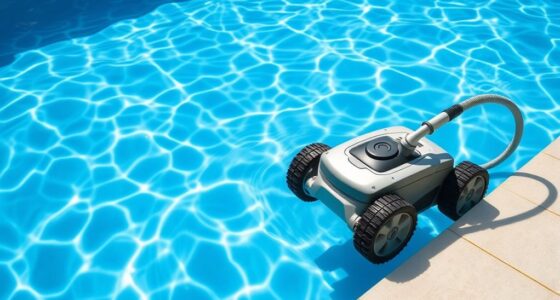
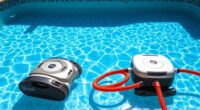
To install a pressure-side pool cleaner, start by gathering your tools, including screwdrivers, pliers, and the manual. Clean the pool and check that all parts are in good shape. Connect the hose securely to the cleaner and attach it to the pool’s return line, adjusting the hose length to prevent tangles. Turn on the pump and observe the cleaner’s movement, making adjustments as needed. Keep exploring for more detailed tips to guarantee your cleaner works perfectly.
Key Takeaways
- Select an appropriate hose length and connect it securely to the pool’s return jet or fitting.
- Turn off the pool pump before attaching the cleaner to prevent water flow issues.
- Connect the cleaner’s hose to the suction port or skimmer, ensuring all fittings are tight and leak-free.
- Adjust the hose length and alignment for optimal coverage and smooth movement across the pool surface.
- Turn on the pump and verify the cleaner moves correctly without tangles or blockages, making adjustments as needed.
Gathering Necessary Tools and Equipment
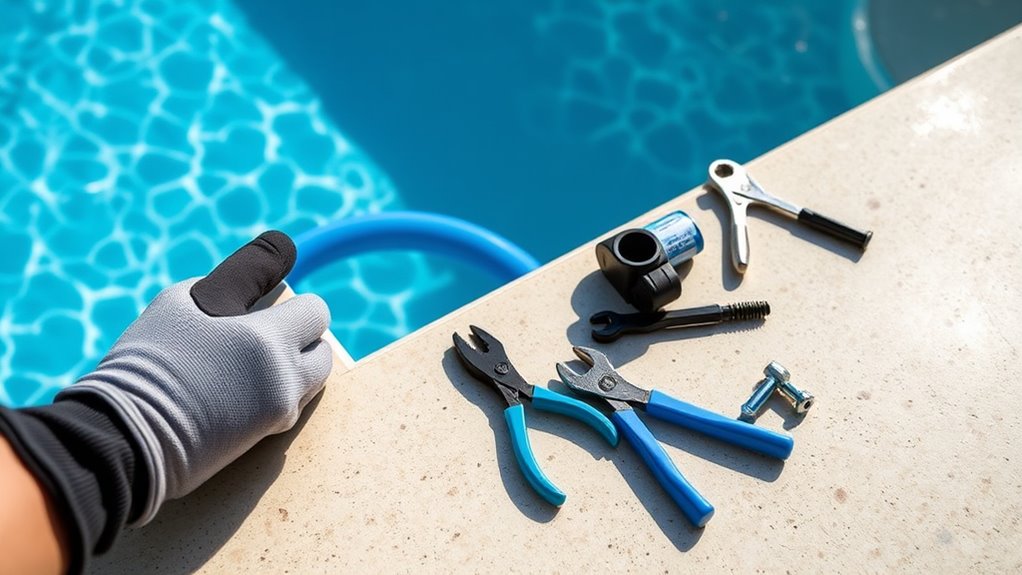
Before beginning the installation, you need to gather all the necessary tools and equipment to guarantee a smooth process. Start by collecting basic tools like screwdrivers, pliers, and a wrench. Make sure you have the pool cleaner’s manual handy for specific parts and instructions. It’s also wise to check your pool’s chemical maintenance supplies, such as test kits and sanitizer, to ensure the water is safe for operation. Don’t forget safety gear like gloves and goggles to protect yourself during setup. Following pool safety tips, secure the area around the pool to prevent accidents. Having everything prepared beforehand minimizes interruptions and helps you focus on proper installation. Properly assembled equipment ensures the best cleaner performance and maintains a safe, healthy swimming environment. Additionally, understanding the benefits of proper equipment maintenance can extend the lifespan of your pool cleaner and improve overall efficiency. Being familiar with hydrocolloid technology can also help you recognize the importance of regular upkeep and skin care to support your pool area and personal health. Regular maintenance routines can also prevent equipment malfunctions, saving time and repair costs in the long run. Moreover, knowing the best cleaning techniques can help you achieve optimal results with less effort and ensure your pool stays pristine.
Preparing Your Pool and Cleaner Components
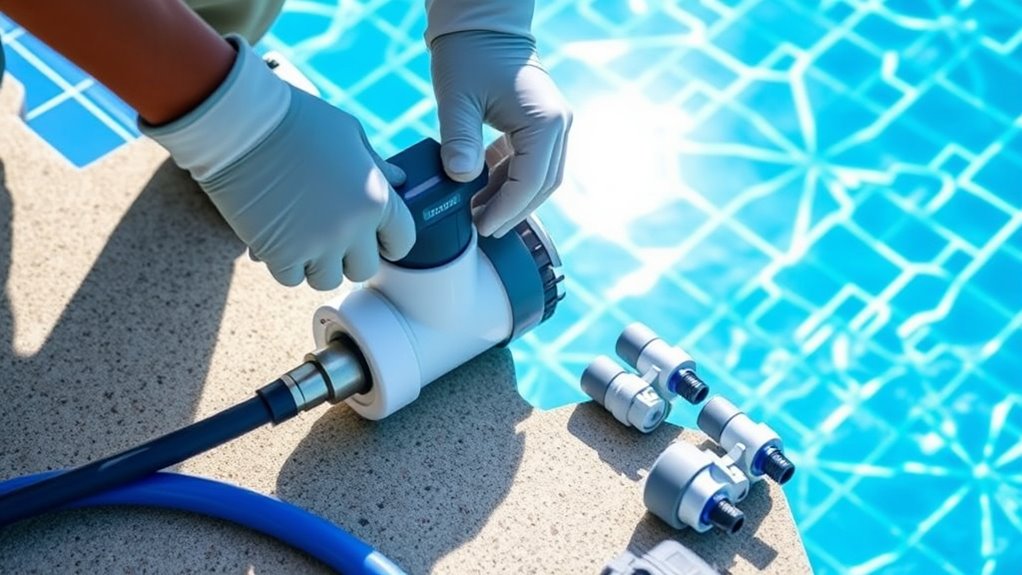
Start by thoroughly cleaning both your pool and the cleaner components to guarantee peak performance. Proper maintenance guarantees the cleaner operates efficiently and lasts longer. Check your pool’s chemistry; balanced pH levels and proper chemical levels help prevent debris buildup and algae growth, making cleaning easier. Before installation, review safety precautions—wear gloves and ensure the power supply is off to avoid electrical hazards. Remove any debris or obstacles from the pool’s surface and walls to prevent interference with the cleaner’s operation. Inspect all parts of the cleaner for damage or wear, replacing any faulty components. Ensuring proper water chemistry is essential for optimal cleaning performance and to prevent damage to your equipment. Additionally, staying informed about AI advancements in device technology can help you select the most efficient and reliable pool cleaning solutions. Keeping up with technological innovations can also provide insights into emerging features that improve cleaning efficiency and system durability. Regularly reviewing product reviews and user feedback can help you choose the best equipment for your needs. Incorporating diy maintenance practices can also prolong the lifespan of your cleaner and ensure consistent results. Taking these steps guarantees a safe, effective setup, and sets the stage for smooth installation and optimal cleaning performance.
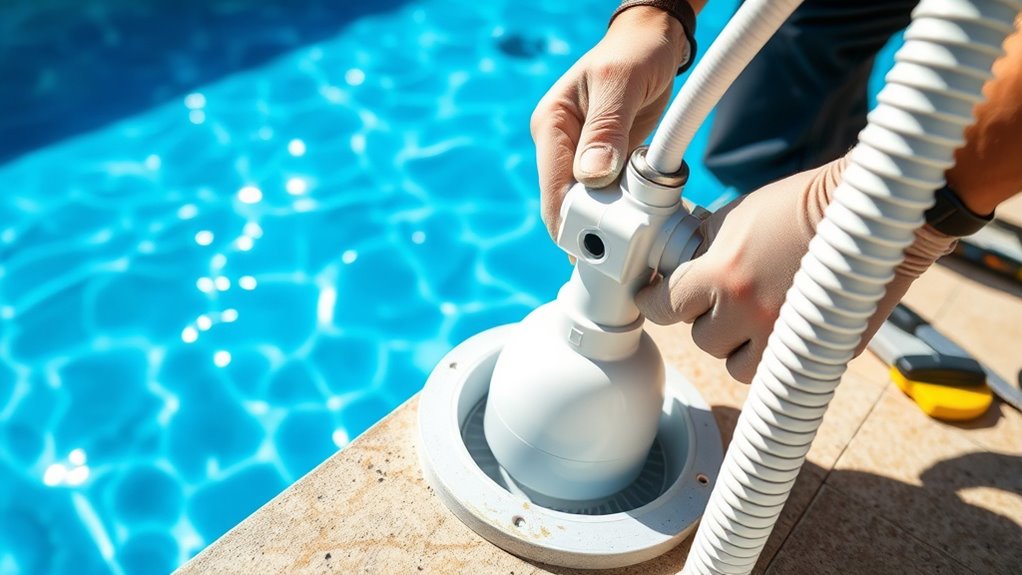
Connecting the Pressure-Side Cleaner to the Pool’s Return Line
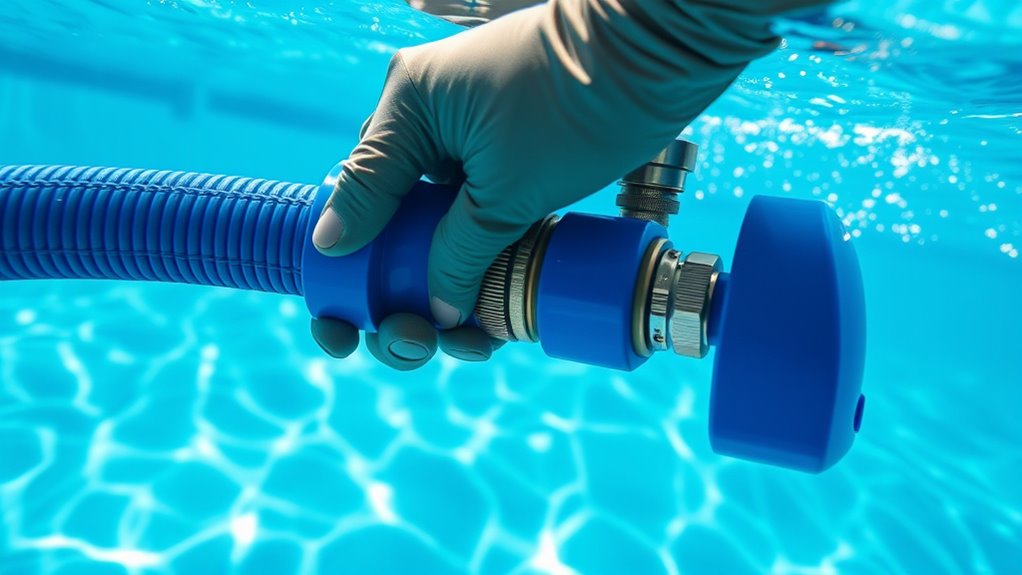
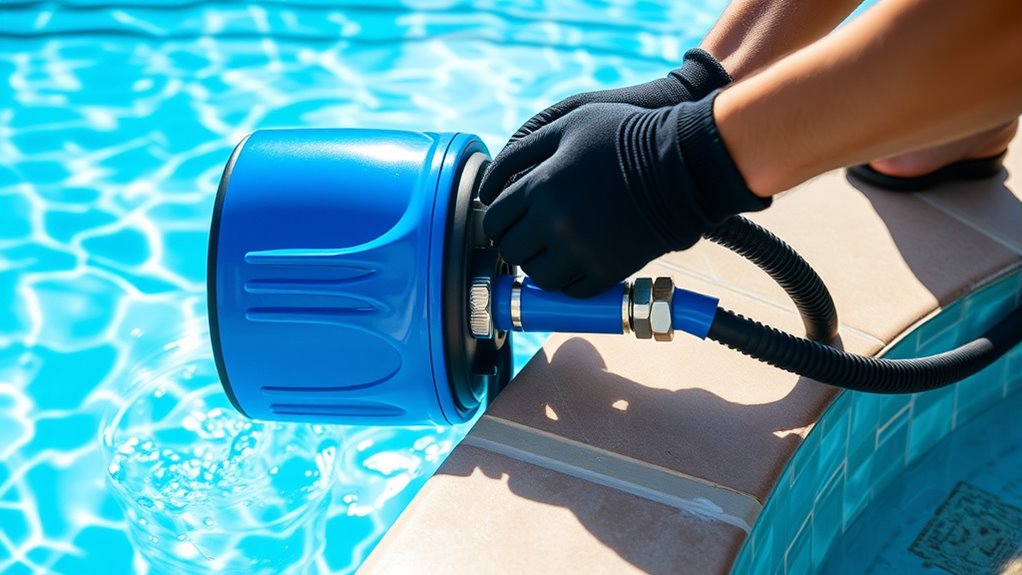
Connecting the pressure-side cleaner to your pool’s return line involves attaching the hose and ensuring proper flow. Start by choosing a hose length that reaches from the cleaner to the return jet without kinks. 1. Connect the hose to the cleaner, making sure it’s secure. 2. Attach the other end of the hose to the pool’s return jet or fitting. 3. Check that the hose isn’t too long or too short, adjusting as needed for ideal water flow. 4. Turn on the pump and observe the water flow through the hose — it should be steady and strong. Ensure the hose remains free of tangles or obstructions. Proper connection guarantees the cleaner receives enough water pressure to operate efficiently, maximizing cleaning performance. Additionally, verify the water flow rate to ensure optimal operation of your pressure-side cleaner. Maintaining appropriate water pressure is essential for effective cleaning and to prevent damage to the system. Regularly inspecting the return line connections can help prevent leaks and maintain consistent water flow. A well-maintained connection not only improves cleaning efficiency but also extends the lifespan of your equipment, fostering a more reliable pool system. Ensuring all connections are tight and secure prevents potential leaks in the system, which can reduce efficiency and cause damage over time.
Adjusting and Securing the Cleaner for Optimal Performance
To guarantee your pressure-side pool cleaner works efficiently, you need to adjust and secure it properly. Start by setting the hose length so the cleaner reaches all pool areas without dragging or sagging. Proper hose length ensures consistent water flow and prevents tangling. Next, check the cleaner’s alignment; it should move smoothly along the pool surface without wobbling or veering off course. Secure the hose fittings tightly to prevent leaks and disconnections during operation. Adjust the hose connectors if necessary to keep the cleaner steady and properly aligned. For optimal performance, consider the navigation technology of your pool cleaner to ensure it covers all areas effectively. Additionally, inspecting the hose configuration regularly can help maintain consistent cleaning coverage. Ensuring the proper fit of all components can further enhance cleaning efficiency. Regularly cleaning and maintaining the pressure system can also improve overall operation. Paying attention to hose length and cleaner alignment ensures ideal cleaning performance, reducing the need for frequent adjustments and maximizing your pool’s cleanliness.
Testing and Troubleshooting Your Installation
Once you’ve secured and adjusted your pool cleaner properly, it’s time to test its operation to guarantee everything functions smoothly. Turn on the pump and observe the cleaner in action. Check that it moves freely without getting stuck and covers the pool evenly. Ensure the hose is stored properly when not in use to prevent kinks that could hinder performance. During testing, pay attention to these key points:
Test your pool cleaner by observing its movement, ensuring it covers the pool evenly and moves freely without kinks.
- Confirm the cleaner’s suction is strong enough for effective cleaning.
- Inspect the hose for leaks or blockages.
- Verify the cleaner’s movement covers all pool areas.
- Perform filter maintenance regularly to keep the cleaner operating efficiently.
- Regularly review Gold IRA rollovers and other investment strategies to ensure your pool cleaning setup remains optimized and cost-effective. Additionally, inspecting the safety features of your heated mattress pad can help prevent overheating or damage. Troubleshooting may involve adjusting hose lengths or cleaning filters to optimize performance and extend your cleaner’s lifespan. Remember that integrating technology into your maintenance routine can further improve efficiency and effectiveness. Staying informed about industry transformations can help you adapt your cleaning strategies to new innovations and standards.
Frequently Asked Questions
How Often Should I Service or Replace Parts on My Pressure-Side Cleaner?
You should follow a regular maintenance schedule for your pressure-side pool cleaner to keep it functioning well. Typically, inspect and clean parts weekly, especially the filter and hoses. Replacement frequency varies based on usage and wear; expect to replace brushes, seals, or hoses every 1-2 years. Regular maintenance prevents breakdowns and extends your cleaner’s lifespan, ensuring your pool stays clean without unexpected repairs.
Can I Use a Pressure-Side Cleaner With a Saltwater Pool?
You can definitely use a pressure-side cleaner with a saltwater pool, but check for saltwater compatibility first. Saltwater can corrode certain parts, so regular cleaner maintenance is vital to prevent damage. Make sure to rinse the cleaner after use, inspect for corrosion, and replace parts as needed. Proper upkeep ensures your pressure-side cleaner works efficiently and lasts longer in a saltwater environment.
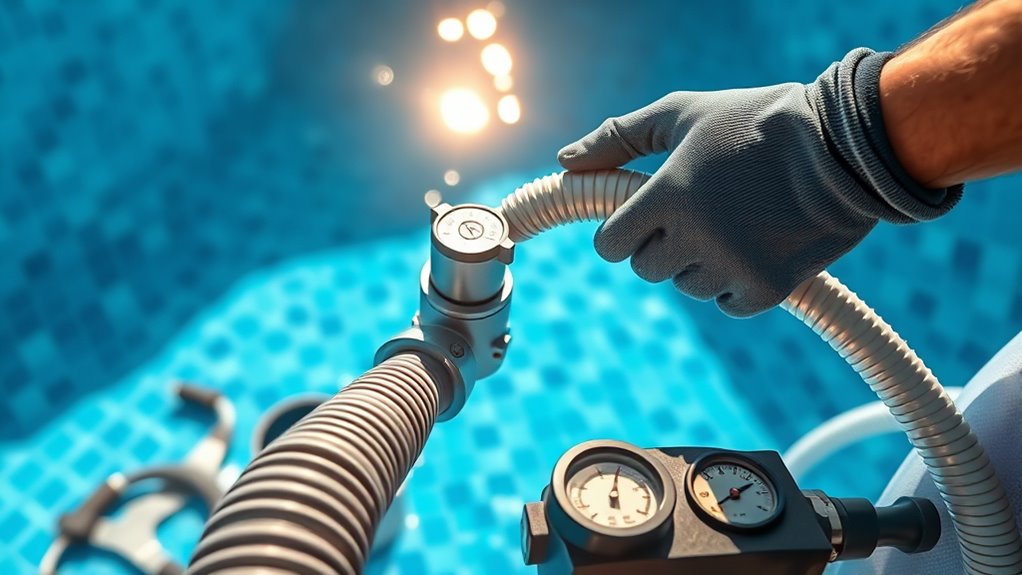
What Is the Ideal Pressure Setting for Optimal Cleaning Performance?
For ideal cleaning, you should aim for a pressure setting around 30-50 psi. Start by checking your pressure gauge calibration to guarantee accurate readings. Adjust the hose length as needed to maintain steady pressure and prevent tangling. If the pressure is too high or low, tweak the settings gradually. Proper calibration and hose length adjustment help your cleaner perform efficiently and keep your pool spotless.
Are There Specific Brands or Models Recommended for Different Pool Sizes?
When choosing a pressure-side pool cleaner, you should consider brand compatibility and model selection based on your pool size. For larger pools, opt for robust models like Polaris or Hayward, which are known for their durability and efficiency. Smaller pools may only need compact, lightweight options. Always check the manufacturer’s recommendations to guarantee the cleaner works well with your pool’s specific size and plumbing setup.
How Do I Prevent the Cleaner From Getting Stuck or Tangled During Operation?
Did you know that tangled hoses are responsible for over 60% of pool cleaner malfunctions? To prevent this, focus on tangle prevention by regularly checking and untwisting hoses before use. Adjust the cleaner’s path to improve obstacle navigation, avoiding sharp edges and tight corners. Use swivel hoses or swivels on the hose connection, and ensure the cleaner’s weight is balanced to keep it moving smoothly without getting caught.
Conclusion
Once you’ve installed your pressure-side pool cleaner, you’re ready to enjoy a sparkling pool all season long. Think of it as a loyal helper, tirelessly working to keep your water crystal clear. With everything set and working smoothly, you’ll be swimming in comfort and cleanliness. Just remember, regular checks keep your cleaner running like a well-oiled machine. Now, sit back, relax, and let your new cleaner do the dirty work—like a trusted underwater guardian!