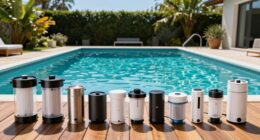
To replace worn parts on your robotic pool cleaner, start by inspecting for signs of wear like frayed brushes, damaged filters, or cracked wheels. Carefully remove and replace these components with genuine parts, ensuring proper alignment and secure connections. Check and swap out cables, motors, and sensors when needed. Regular maintenance helps prevent issues and keeps your cleaner running smoothly. Keep going to discover detailed tips for a smooth replacement process.
Key Takeaways
- Inspect brushes, filters, wheels, and tracks regularly for signs of wear or damage before replacement.
- Follow manufacturer instructions for proper removal, ensuring electrical power is disconnected during parts replacement.
- Use genuine replacement parts and verify correct alignment and secure connection during installation.
- Check and adjust drive belt tension and sensor calibration after replacing worn components.
- Conduct a functionality test to confirm the new parts operate smoothly and the cleaner performs effectively.
Identifying Signs of Wear on Your Pool Cleaner Parts
Since worn parts can decrease your pool cleaner’s efficiency, it’s important to recognize the signs early. One key indicator is sensor diagnostics; if your cleaner reports errors or struggles to detect obstacles, sensors may be dirty or malfunctioning. Check for inconsistent navigation or missed spots, which can point to sensor issues. Battery health is another critical factor—if your cleaner’s runtime shortens considerably or it struggles to start, the battery might be degrading. Regularly monitor your device’s performance and run diagnostic tests if available. Also, listen for unusual noises or observe if the cleaner moves sluggishly. Automation technologies in robotics are continually advancing, which can help in diagnosing and maintaining optimal performance. Proper sensor maintenance ensures your cleaner continues to operate effectively and can extend its lifespan. Additionally, keeping an eye on filter replacement indicators can prevent blockages that reduce cleaning efficiency. To support these maintenance practices, understanding the wear patterns of your robotic pool cleaner can help you anticipate which parts might need replacement next. For optimal operation, understanding the contrast ratio and its impact on visual clarity can help in assessing your projector’s image quality. Addressing these signs early helps prevent further damage and keeps your robotic pool cleaner functioning smoothly.
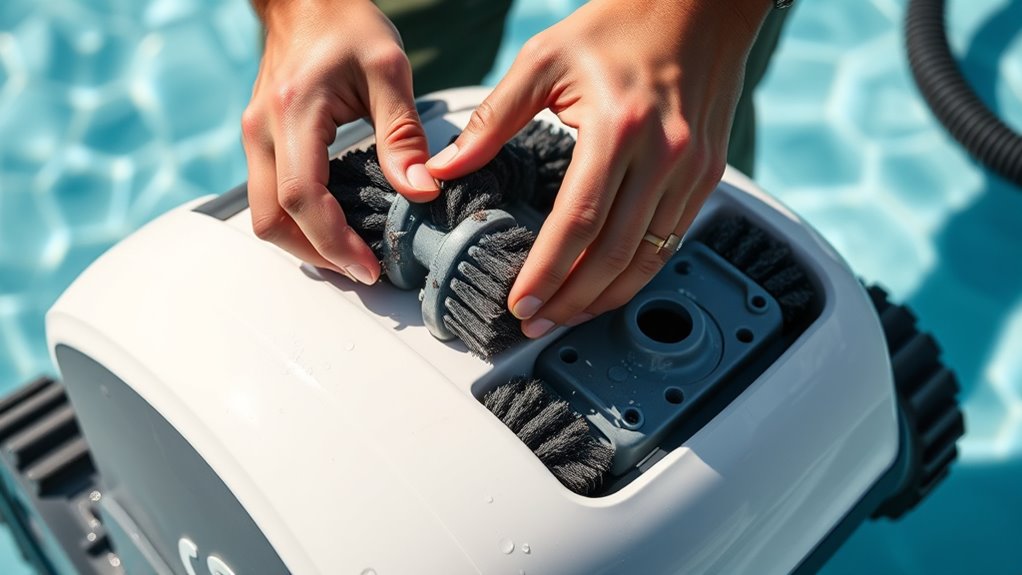
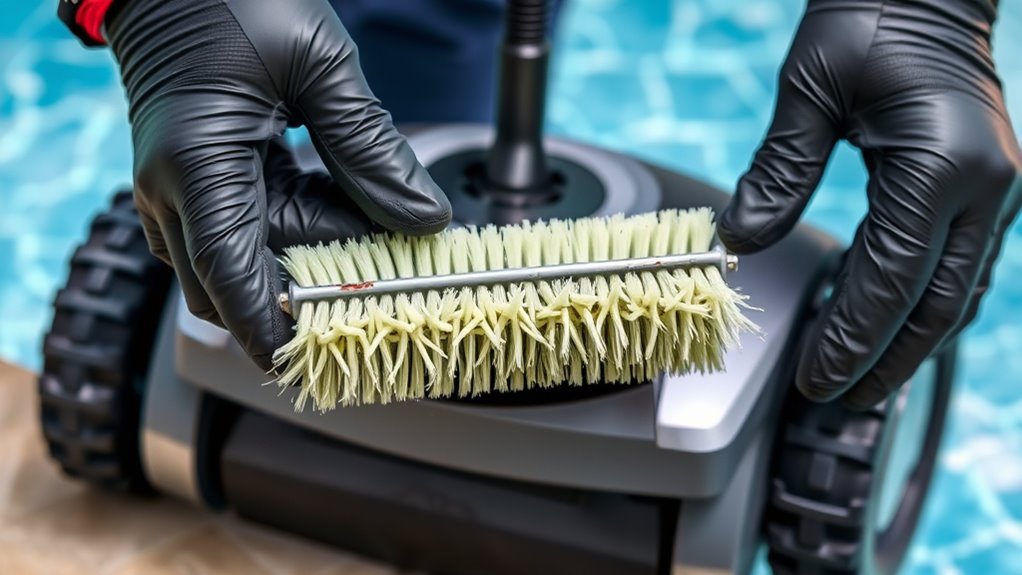
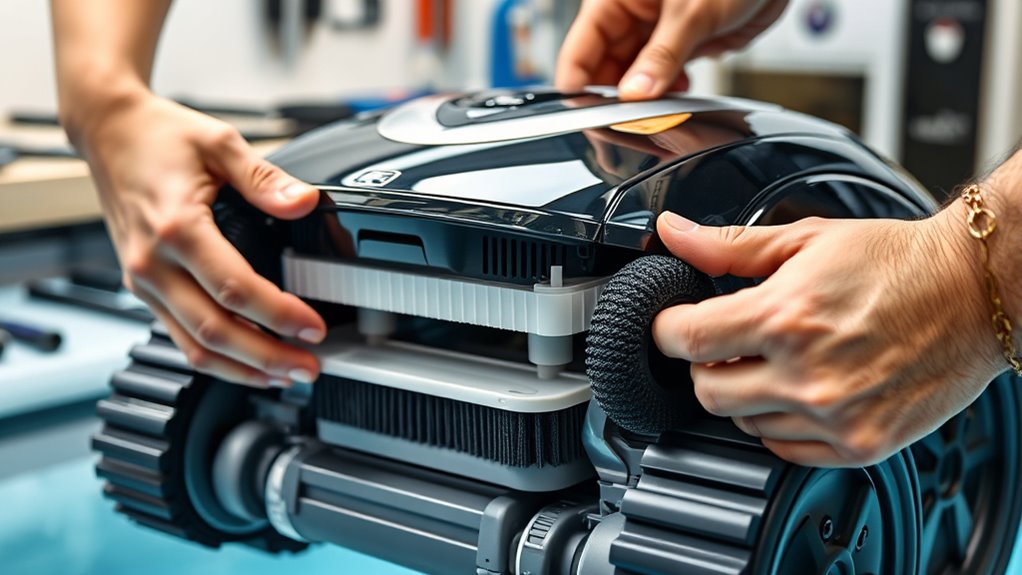
Replacing the Brushes and Scrubbing Attachments
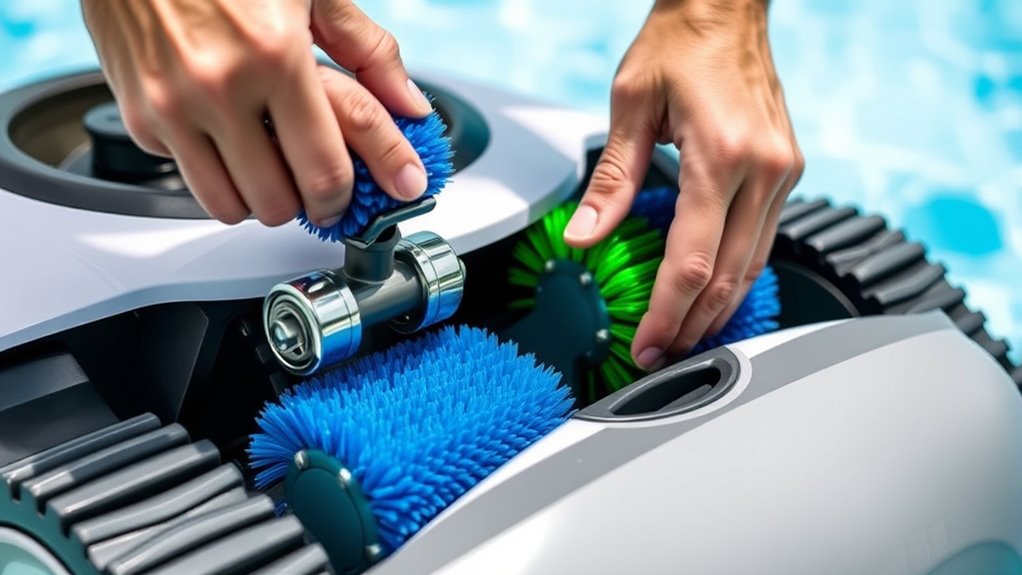
Worn brushes and scrubbing attachments can substantially reduce your robotic pool cleaner’s ability to scrub and remove debris effectively. Regular brush replacement guarantees maximum cleaning performance and prolongs your device’s lifespan. To maintain scrubbing attachment efficiency, inspect them frequently for signs of wear or damage. When replacing, follow your manufacturer’s instructions for proper installation. Keep these tips in mind:
Regularly inspect and replace worn brushes to ensure optimal robotic pool cleaning performance.
- Check for frayed or cracked bristles
- Remove and clean attachments regularly
- Ensure proper attachment fitting during installation
- Use genuine replacement parts for durability
- Perform routine scrubbing attachment maintenance
- Understanding paint sprayer performance helps in choosing the right replacement parts for your device. Additionally, being aware of Pimple Patch options can provide insight into product effectiveness and maintenance routines. Regularly monitoring the device’s operation can also help identify early signs of wear, ensuring timely replacements and optimal cleaning. Proper filter maintenance is essential for maintaining peak performance and preventing clogs that can hinder cleaning efficiency. Recognizing wear indicators early on can save time and prevent more costly repairs later.
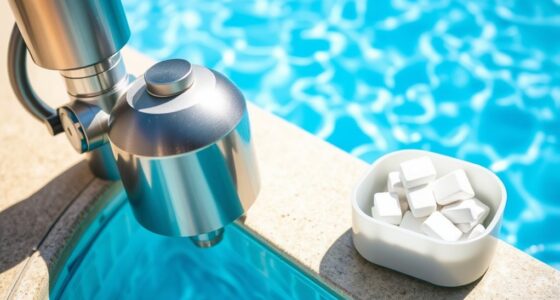
Swapping Out the Filters for Optimal Performance
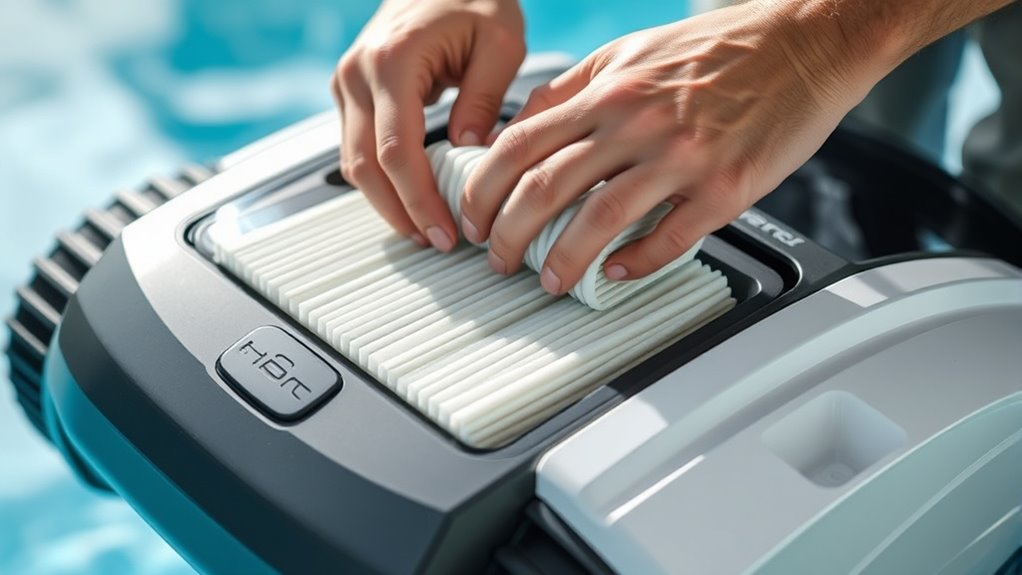
Regularly swapping out the filters is essential to keep your robotic pool cleaner operating at peak performance. Proper filter replacement ensures debris doesn’t clog the system, maintaining ideal suction and cleaning efficiency. Follow the cleaning procedures provided by your manufacturer to remove and inspect the filter. Replace it when it appears dirty or damaged to prevent strain on the motor. Here’s a quick guide:
| Step | Action |
|---|---|
| 1 | Turn off the cleaner and remove the filter. |
| 2 | Rinse the filter with clean water to remove debris. |
| 3 | Inspect for tears or damage; replace if needed. |
| 4 | Reinstall the clean filter securely before use. |
Sticking to these steps keeps your cleaner running smoothly and prolongs its lifespan. Proper maintenance, including regular cleaning, can also prevent buildup of dirt and grime, ensuring a fresh and healthy pool environment. Additionally, implementing AI-driven diagnostics can help detect potential issues early, optimizing your pool cleaning routine.
Changing the Wheels and Tracks for Better Mobility

To guarantee your robotic pool cleaner moves smoothly across the pool floor, it’s important to periodically change its wheels and tracks. Wheel replacement ensures better traction and prevents slipping, while track adjustment maintains ideal movement and cleaning efficiency. When replacing wheels, inspect for cracks or wear and select compatible parts to fit your model. For tracks, check for looseness or damage and tighten or replace as needed. Keep these tips in mind:
- Choose durable, high-quality wheels and tracks
- Regularly inspect for signs of wear or damage
- Ensure proper alignment during installation
- Adjust tracks for proper tension
- Test the cleaner’s mobility after replacement
- Monitoring indoor air quality can help identify if your equipment is contributing to pollutants or odors that might affect the environment around your pool area. Additionally, maintaining clean filters can improve overall performance efficiency and prolong the lifespan of your robotic cleaner. Being aware of Resources and Tools available can help you find the right parts and professional assistance if needed. Regular maintenance also supports vibrational alignment, ensuring your cleaner operates at peak efficiency and longevity. Understanding the complexity of mechanical components can help in troubleshooting issues more effectively.
Inspecting and Replacing the Cables and Power Components
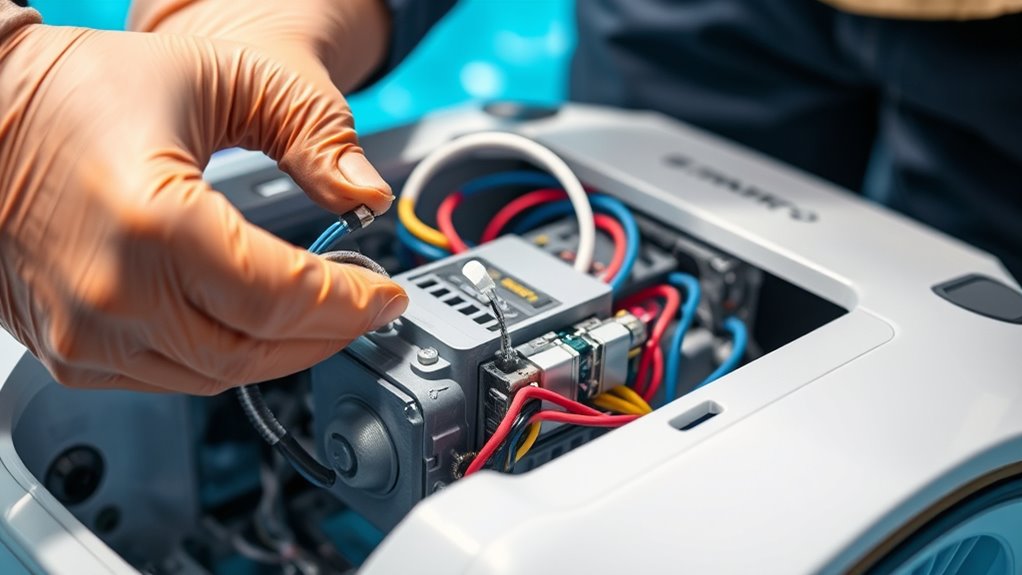
Since cables and power components are essential for your robotic pool cleaner’s operation, it’s important to examine them regularly for signs of damage or wear. During cable inspection, look for cracks, cuts, or exposed wires that could cause malfunction or safety hazards. Check connectors and insulation for corrosion or looseness. If you notice any issues, replace the damaged cables promptly to prevent further damage. For power component replacement, verify that the motor and circuit boards are functioning correctly—listen for unusual noises or check for overheating. When replacing power components, ensure you disconnect the unit from power before working on it, and use compatible parts. Regular inspection and timely replacement help maintain your cleaner’s efficiency and extend its lifespan. Additionally, understanding state tax implications for IRA withdrawals can be useful if you’re planning for future expenses or retirement. Being aware of personal debt forgiveness bills can also help you manage financial considerations related to unexpected repairs or costs.
Furthermore, staying informed about AI vulnerabilities can assist in understanding the importance of proper maintenance in high-tech devices like robotic cleaners.
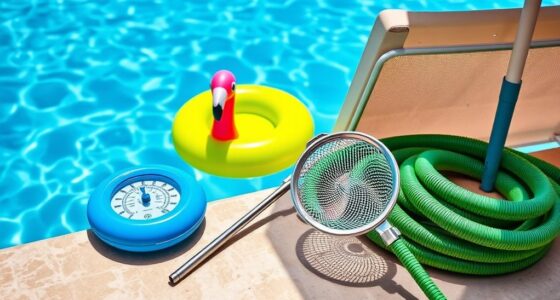
Cleaning and Replacing the Suction Inlet and Nozzles

Cleaning and replacing the suction inlet and nozzles keeps your robotic pool cleaner operating effectively. Over time, debris and mineral buildup can clog the suction inlet, reducing suction power. Nozzle replacement guarantees ideal water flow and cleaning performance. To start, inspect the suction inlet for blockages or damage. If needed, detach it carefully and clean with a soft brush. When replacing nozzles, ensure they fit snugly to prevent leaks. Regular maintenance prevents poor cleaning results. Consider these tips:
Regularly check and clean the suction inlet and nozzles for optimal pool cleaner performance.
- Check for cracks or wear on the suction inlet
- Clear debris from the inlet and nozzles
- Replace worn or damaged nozzles promptly
- Use manufacturer-approved nozzle replacement parts
- Test the system after cleaning and replacing components
This keeps your cleaner running smoothly and efficiently.
Maintaining and Replacing the Internal Drive Motors

You’ll want to start by checking if your drive motors show signs of wear or damage. Next, carefully remove the old motors, making sure to disconnect any wiring properly. It’s also helpful to monitor currency fluctuations that could affect the availability or cost of replacement parts. Being aware of juice recipes and mixes can inspire you to stay refreshed during maintenance tasks or to enjoy a revitalizing beverage afterwards. Additionally, inspecting the famous quotes about fatherhood can offer motivation and perspective during challenging repairs. It’s also beneficial to familiarize yourself with professional maintenance tips to ensure proper handling and installation of the new components. Finally, install the new drive motors, ensuring they’re securely in place for smooth operation. Regular maintenance can help prevent issues like wear and tear, ensuring your pool cleaner functions effectively throughout its lifespan.
Identifying Motor Wear
Over time, the drive motors in your robotic pool cleaner can show signs of wear that affect its performance. You may notice reduced cleaning efficiency, unusual noises, or inconsistent movement. To accurately identify motor wear, check for signs like sluggish response or overheating. Perform sensor calibration regularly to ensure the device’s sensors function correctly, as faulty sensors can mimic motor issues. Keep your software updated, as manufacturers often release updates that optimize motor performance and fix bugs. Additionally, inspect the motor for visible damage or corrosion. Listen for irregular sounds during operation, and observe if the cleaner struggles to navigate or complete cycles. Regular maintenance and attention to these signs help prevent complete motor failure and extend your cleaner’s lifespan.
Removing Old Motors
Are you ready to remove the old drive motors from your robotic pool cleaner? First, disconnect the power supply and open the unit’s casing. Locate the motors, which may be causing excessive motor noise or electrical issues. Carefully disconnect the wiring harnesses, noting their positions for reassembly. Use a screwdriver or socket wrench to unscrew the mounting brackets holding the motors in place. Gently lift out the worn motors, ensuring you don’t damage surrounding parts. If the motors are stuck or difficult to remove, check for corrosion or debris that might be hindering removal. Once removed, inspect the wiring connectors and housing for corrosion or damage. Removing the old motors sets the stage for installing new, properly functioning ones.
Installing New Drive Motors
Ready to install the new drive motors? First, align the motor with the robotic arm and secure it firmly using the appropriate screws. As you connect the wiring, make sure the connectors are snug to prevent future disconnections. Take time to verify that the motor’s placement allows for smooth operation. During installation, consider these steps:
- Check that the mounting points match the new motor specifications
- Carefully connect the sensor calibration wires for accurate navigation
- Test the robotic arm’s movement after installation to confirm proper function
- Secure all screws tightly to avoid vibrations or dislodging
- Power on the cleaner and observe the drive motor’s performance
Proper installation guarantees efficient operation, and recalibrating sensors ensures your robotic pool cleaner navigates accurately with the new drive motors.
Tips for Proper Installation and Preventative Maintenance
Ensuring your parts are properly aligned during installation is key to ideal performance. Make it a habit to perform regular maintenance checks to catch issues early. Staying proactive will extend the life of your robotic pool cleaner and keep it running smoothly.
Correct Part Alignment
Proper part alignment is essential for your robotic pool cleaner to operate efficiently and avoid unnecessary wear. When installing or replacing parts, ensure they align correctly to prevent troubleshooting alignment issues later. Misaligned components can cause poor cleaning performance, motor strain, or damage to the unit. To maintain proper part alignment:
- Double-check that all connectors snap securely into place
- Verify brushes and tracks are positioned correctly according to manufacturer instructions
- Ensure alignment of sensors and wheels for smooth movement
- Confirm that the drive belt is properly tensioned and seated
- Remove debris that may hinder correct installation
Taking these steps helps prevent issues caused by improper alignment, saving you time and costly repairs. Properly aligned parts improve efficiency and extend your cleaner’s lifespan.
Regular Maintenance Checks
Regular maintenance checks are key to keeping your robotic pool cleaner running smoothly and preventing costly repairs. Regularly inspect the cleaner’s brushes, filters, and moving parts to guarantee they’re free of debris and wear. Proper pool chemistry is essential; imbalanced water can affect the cleaner’s performance and lead to buildup or corrosion. Additionally, calibrate your robotic cleaner periodically to maintain ideal navigation and cleaning efficiency. Check the calibration settings as recommended by the manufacturer, especially after replacing worn parts. Maintaining correct pool chemistry and ensuring the cleaner is properly calibrated helps prevent issues like clogged filters or misaligned movements. By staying proactive with these maintenance checks, you extend your cleaner’s lifespan, improve its efficiency, and reduce the chances of unexpected breakdowns.
Frequently Asked Questions
How Often Should I Replace Parts on My Robotic Pool Cleaner?
You might wonder how often you should replace parts on your robotic pool cleaner. Following a maintenance schedule helps you stay on top of replacement frequency, ensuring peak performance. Typically, filters need changing every few months, while brushes and tracks may last six months to a year, depending on usage. Regularly inspect your cleaner for wear and tear, and replace parts as needed to keep it running smoothly and efficiently.
Are Genuine Parts Necessary for Repairs and Replacements?
Did you know that using genuine parts can extend your robotic pool cleaner’s lifespan by up to 30%? When it comes to repairs and replacements, you should definitely opt for genuine parts. They guarantee compatibility and maintain your repair warranty, saving you money in the long run. While aftermarket parts might seem cheaper, they often lack the durability and quality of genuine parts, making repairs more costly over time.
Can I Replace Parts Myself or Should I Hire a Professional?
You can definitely try a DIY repair if you’re comfortable with basic tools and follow instructions carefully. However, for complex issues or if you’re unsure, hiring a professional service is smarter. They have the expertise to avoid further damage and ensure your robotic pool cleaner works properly. Consider your skill level, the complexity of the repair, and available tools before deciding whether to do it yourself or seek professional help.
What Tools Are Required for Replacing Worn Parts?
When tackling common repairs, you’ll want to know the tools needed for the job. Typically, you’ll need screwdrivers, pliers, and perhaps a wrench or socket set. These tools help you easily remove and replace worn parts. Having a basic toolkit makes the process smoother and guarantees you can handle most repairs yourself. Always check your pool cleaner’s manual for specific tools required for each repair to avoid any mishaps.
How Do I Dispose of Old or Damaged Parts Properly?
When it’s time to retire old or damaged parts, you’ll want to follow proper disposal guidelines. Think of it as giving them a respectful send-off. You should check local recycling procedures and dispose of recyclable components responsibly. Certain parts might be suitable for recycling centers, while others need special handling. Always guarantee you’re adhering to local regulations for safe and eco-friendly disposal, helping protect our environment for future pool adventures.
Conclusion
Just like a seasoned captain tending to their ship, staying vigilant with your pool cleaner’s parts keeps it sailing smoothly. Regularly check for wear and replace components proactively to avoid unexpected breakdowns, ensuring your pool stays pristine all season long. Remember, a well-maintained cleaner isn’t just a tool — it’s your trusted mate in keeping your aquatic haven spotless, ready to conquer any dirt storm, just as a hero prepares for battle.