To set up your new robotic pool cleaner, start by carefully unboxing and inspecting all parts for damage or missing items. Next, assemble the cleaner as per the instructions and connect it to a grounded power source to charge fully. Once charged, turn it on and connect it to your smartphone app or remote control. From there, program your desired cleaning schedules and customize settings. If you want detailed tips on troubleshooting and maintenance, keep going to get all the essential information.
Key Takeaways
- Unbox and inspect all components, ensuring they are undamaged and properly assembled according to manufacturer instructions.
- Fully charge the device following safety guidelines before initial use, then turn it on and run a self-test.
- Connect the cleaner to your Wi-Fi or Bluetooth via the app, following pairing prompts for seamless control.
- Set cleaning schedules, zones, and modes through the app or control panel, customizing based on pool size and debris.
- Regularly clean filters, sensors, and brushes, and perform software updates for optimal performance and longevity.
Unboxing and Inspecting Your Pool Cleaner
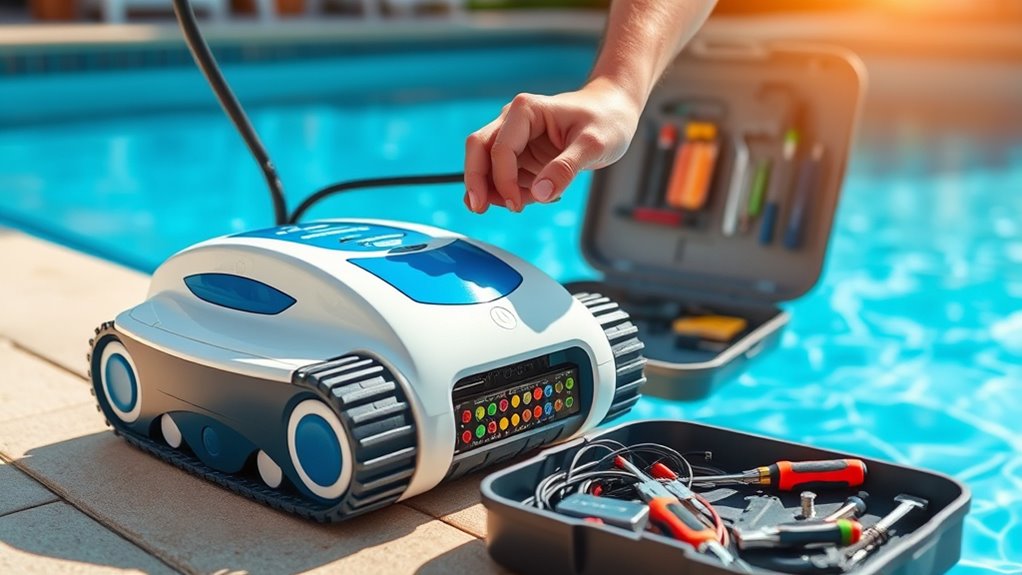
When you unbox your robotic pool cleaner, it’s important to carefully examine all the components to guarantee everything is included and undamaged. Check the main unit, power supply, and any brushes or filters. Ensuring the device is in pristine condition helps maintain pool safety by preventing malfunctions that could lead to accidents. Pay close attention to the battery and power cord, as damage here can shorten battery lifespan and reduce overall performance. Confirm that all connectors are secure and free of cracks. If anything appears broken or missing, contact customer support before use. Proper inspection guarantees your cleaner operates safely and efficiently, helping you avoid issues that might compromise pool safety or diminish the device’s battery life. Additionally, understanding GMC tuning can provide insights into optimizing the performance and longevity of your equipment, similar to how proper tuning enhances vehicle efficiency. Taking these steps sets the foundation for a smooth setup. Regularly monitoring the automation technology in your device can help identify potential issues early and ensure continuous operation. Recognizing angel number soulmate signs can also inspire confidence that your efforts will lead to a harmonious outcome. Moreover, being aware of relationship patterns can help you identify and address underlying issues that may affect your device’s performance over time. Staying informed about device maintenance best practices can further extend your cleaner’s lifespan and efficiency.
Charging the Device and Preparing It for Use
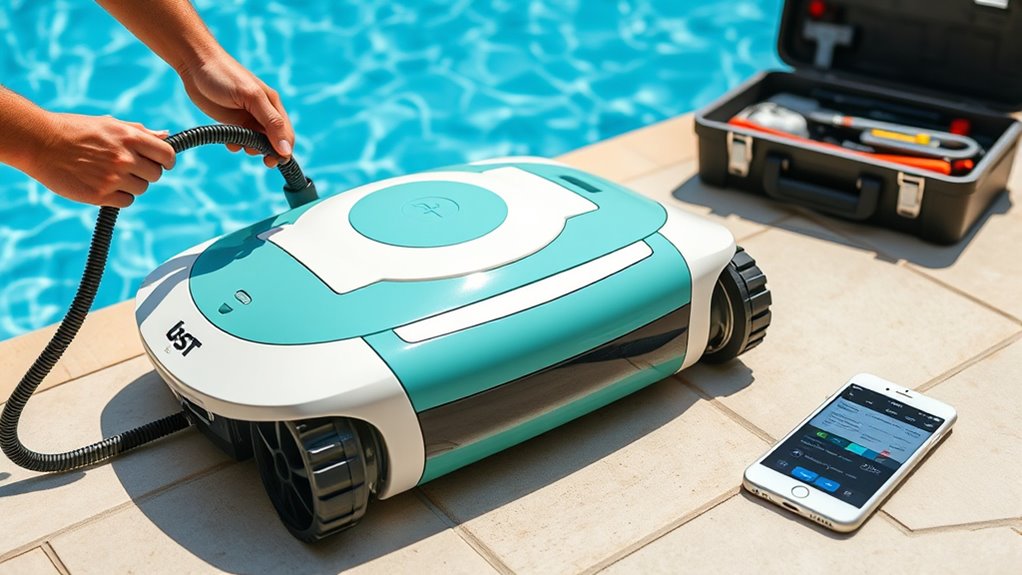
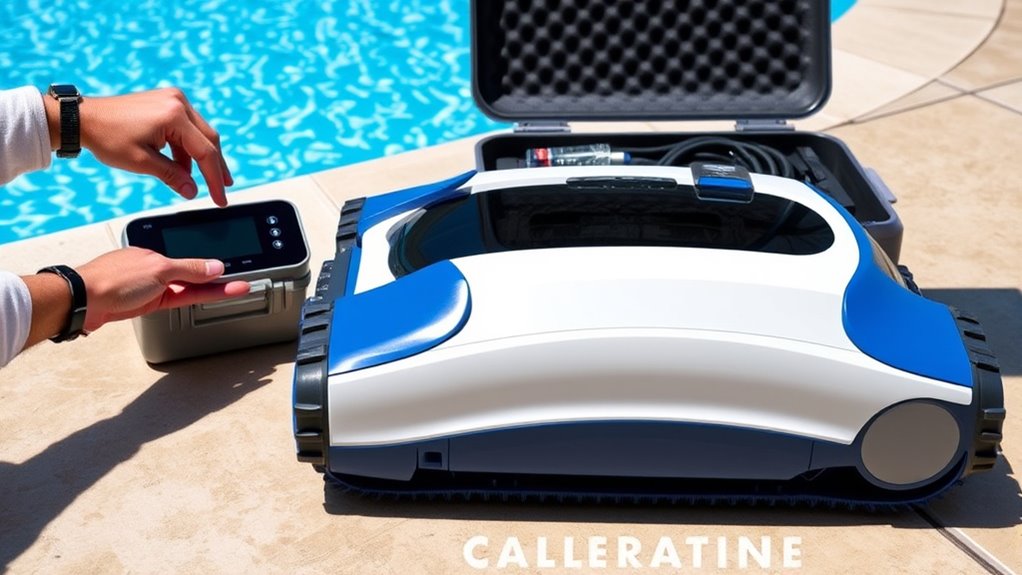
To get your robotic pool cleaner ready, start by following the proper charging procedure outlined in the manual. Once plugged in, power it on using the initial steps to make sure it’s functioning correctly. This will set the stage for effective cleaning and long-term performance. Additionally, ensuring the device is charged with a sufficient power supply helps maintain optimal operation and lifespan. Proper calibration can also improve the accuracy and efficiency of the cleaning process, especially in complex pool environments. Regularly checking the suction power ensures the cleaner maintains strong performance during each session. Being aware of product buildup on the device can help prevent clogs and maintain effective cleaning. Using the correct power source prevents device malfunction and prolongs its service life.
Proper Charging Procedure
Before using your robotic pool cleaner, it’s essential to properly charge the device to guarantee peak performance. Start by connecting it to the charger in a dry, well-ventilated area, following the manufacturer’s instructions. Ensure the power source is grounded and free from moisture to avoid safety hazards. During charging, monitor the device to prevent overcharging, which can affect battery maintenance and lifespan. Always unplug the charger once the battery is fully charged to avoid overheating. Remember to handle the device carefully, following all safety precautions, to prevent damage or accidents. Proper charging not only prolongs your cleaner’s battery life but also guarantees it operates efficiently during each use. Regularly check the charging contacts for dirt or corrosion to maintain maximum power transfer. Additionally, adhering to proper charging procedures can help prevent potential damage to the battery and ensure consistent cleaning performance. It’s also beneficial to review the manufacturer’s maintenance guidelines periodically to keep your device in optimal condition. Being aware of the battery health can help you identify when it may need servicing or replacement to maintain performance. Properly managing the power source can also enhance safety and prolong your device’s lifespan.
Initial Power-On Steps
Start by placing your robotic pool cleaner on a flat, stable surface near a grounded power outlet. Before turning it on, verify it’s fully charged, following your charger’s instructions. To begin the initial startup, locate the power button on the device. Press and hold the power button until you see an indicator light or hear a sound confirming it’s powered on. This step activates the robot’s circuits and prepares it for operation. Make sure the power source is stable and the connections are secure. Once powered on, your device may perform a brief self-test or startup sequence. Avoid pressing the power button repeatedly. After initial power-on, you’re ready to program or place the cleaner in your pool for regular cleaning cycles. Additionally, understanding Kia Tuning options can help you optimize performance if you own a compatible vehicle.
Assembling the Robotic Pool Cleaner
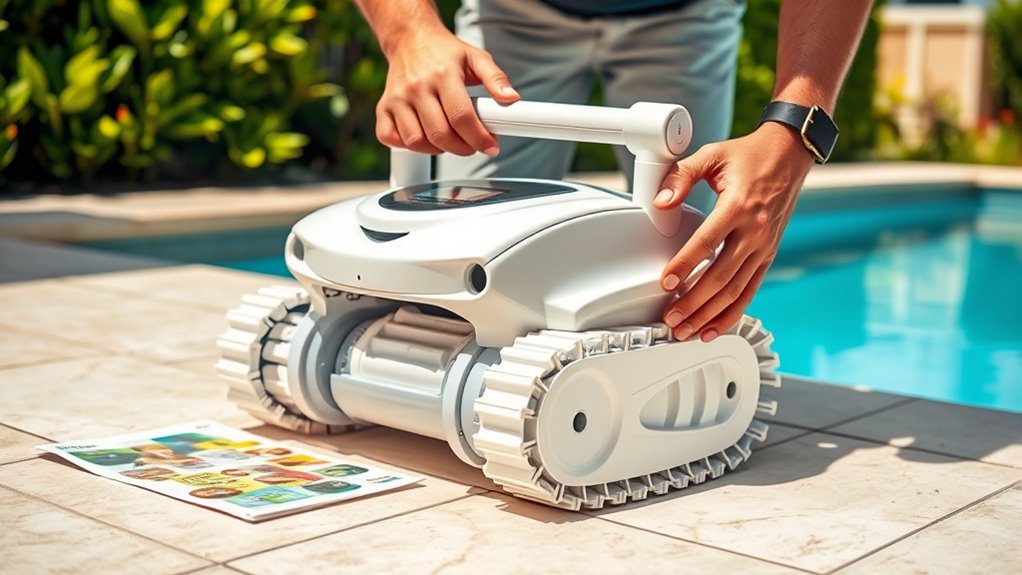
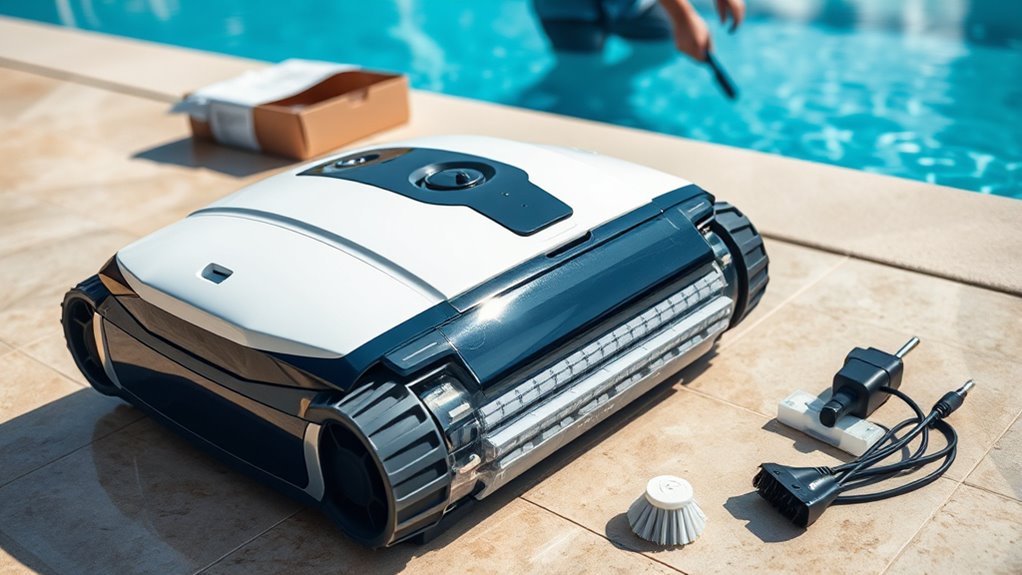
Start by unboxing your robotic pool cleaner and carefully inspecting all parts for any damage. Make sure you connect each component correctly, following the manufacturer’s instructions. Proper assembly guarantees your device operates smoothly and effectively cleans your pool.
Unboxing and Inspection
Have you ever opened a new robotic pool cleaner and wondered if everything inside is in perfect condition? Start by carefully removing the packaging and inspecting each part for any damage or missing components. Check the power cord, brushes, and filters to ensure they are intact and clean. While unboxing, keep pool chemical safety in mind—avoid contact with chemicals and wash your hands afterward. Store the cleaner outdoors or in a shaded, dry spot to protect it from weather damage. Ensure all components, including the cable and body, are free of cracks or defects. This quick inspection helps prevent issues during setup and guarantees your pool cleaner functions efficiently from the start. Proper unboxing and inspection set the foundation for safe, effective pool cleaning. Additionally, verifying that the filter system is clean and properly installed can greatly improve the device’s performance from the outset. Taking a moment to check the wall organization of your storage area can help keep your cleaning equipment organized and easily accessible. Regularly inspecting the AI security measures of your device can also help prevent potential vulnerabilities and enhance safety. Moreover, reviewing the maintenance guidelines provided by the manufacturer can ensure long-term optimal operation and durability. Performing a thorough filter maintenance check before initial use can further enhance the cleaner’s lifespan and cleaning efficiency.
Connecting Components Properly
Connecting the components properly is essential to guarantee your robotic pool cleaner operates smoothly. Making certain correct assembly involves verifying component compatibility and prioritizing wiring safety. Before connecting, double-check that all parts fit securely and match the manufacturer’s specifications. Follow these key steps:
- Confirm the power supply and cable connections are compatible.
- Ensure wires are properly insulated to prevent electrical hazards.
- Attach brushes and filters securely to their designated slots.
- Avoid forced connections that could damage components.
- Use the recommended tools to tighten screws and connectors.
- Additionally, consulting the pool cleaner’s user manual can help ensure all parts are assembled correctly and safely. It is also important to verify that the electrical components are compatible to prevent malfunctions. Being aware of the hours of operation and ensuring the device is used within its intended timeframe can also contribute to optimal performance and longevity. Regularly inspecting the connection points can help identify potential issues before they lead to malfunction or damage.
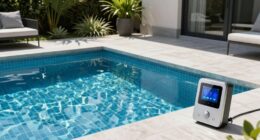
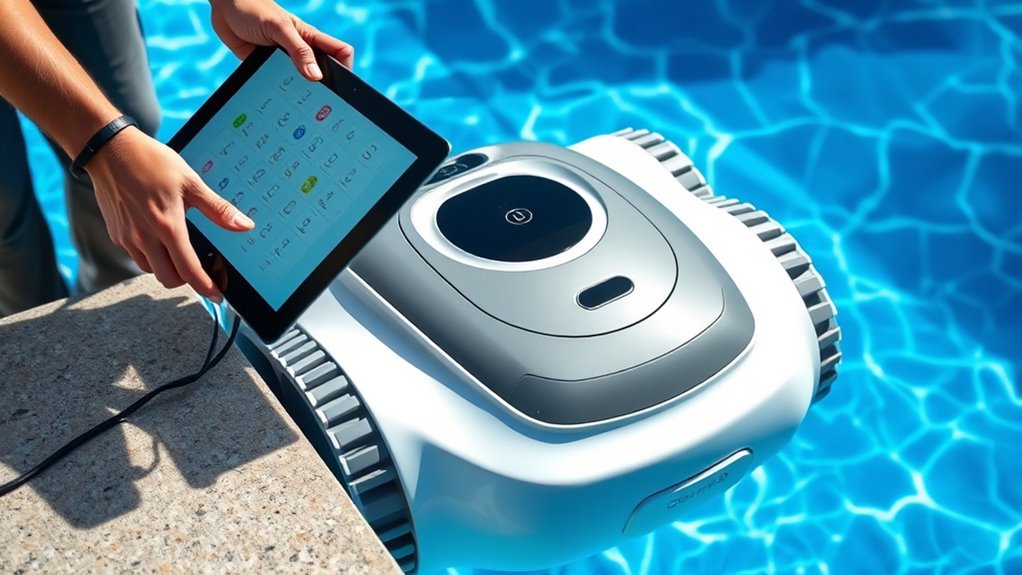
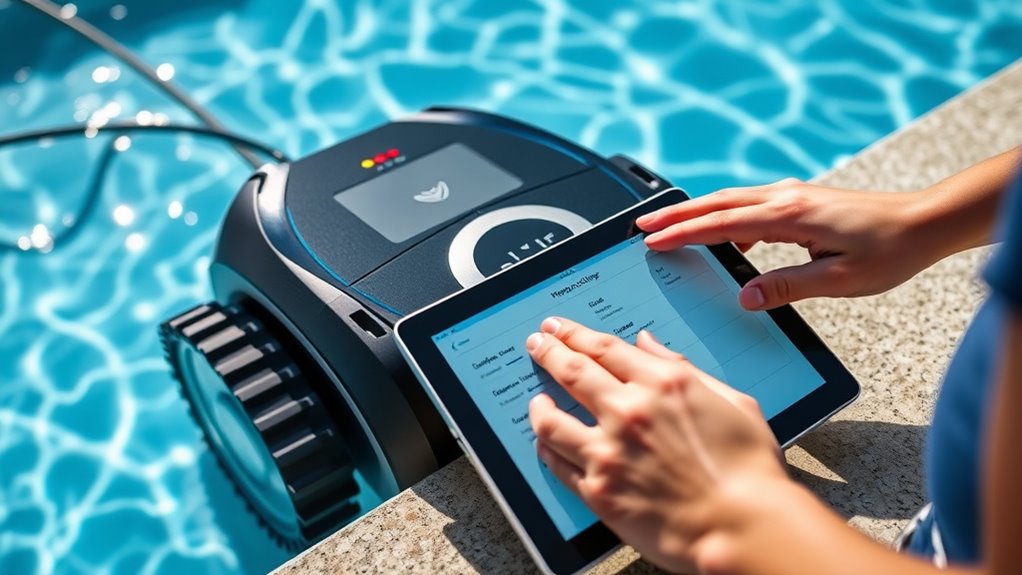
Connecting to the Mobile App or Remote Control

To connect your robotic pool cleaner to the mobile app or remote control, make sure your device is powered on and within range. Verify your smartphone or tablet has the latest app version installed and check for compatible wireless connectivity options. Most cleaners use Wi-Fi or Bluetooth, so confirm your device supports these features. Once connected, open the app and follow the prompts to pair your cleaner. Use the table below to understand key aspects of this process:
| Aspect | Explanation |
|---|---|
| Wireless Connectivity | Ensures seamless control and updates |
| App Compatibility | Matches your device’s operating system |
| Signal Range | Keeps your device within effective distance |
| Pairing Process | Usually involves scanning or entering codes |
| Troubleshooting | Restart devices or check network settings |
Additionally, maintaining a strong network connection can help prevent disconnections during operation. Ensuring your device has a stable and reliable Wi-Fi signal is crucial for optimal performance.
Programming Cleaning Cycles and Schedules
Programming your robotic pool cleaner’s cleaning cycles and schedules allows you to maintain a spotless pool effortlessly. Start by selecting from available cleaning cycle presets to match your pool’s size and debris level. Use the scheduling options to set specific times for your cleaner to operate, ensuring consistent maintenance without manual intervention. To optimize performance, consider the following:
Effortlessly maintain your pool with customized cleaning cycles and schedules.
- Choose a cycle preset tailored to your pool’s needs
- Set recurring schedules for daily, weekly, or custom intervals
- Adjust start times to avoid peak sunlight or pool usage
- Enable or disable specific cleaning modes within schedules
- Review and modify schedules as needed for seasonal changes
Navigating and Customizing Settings
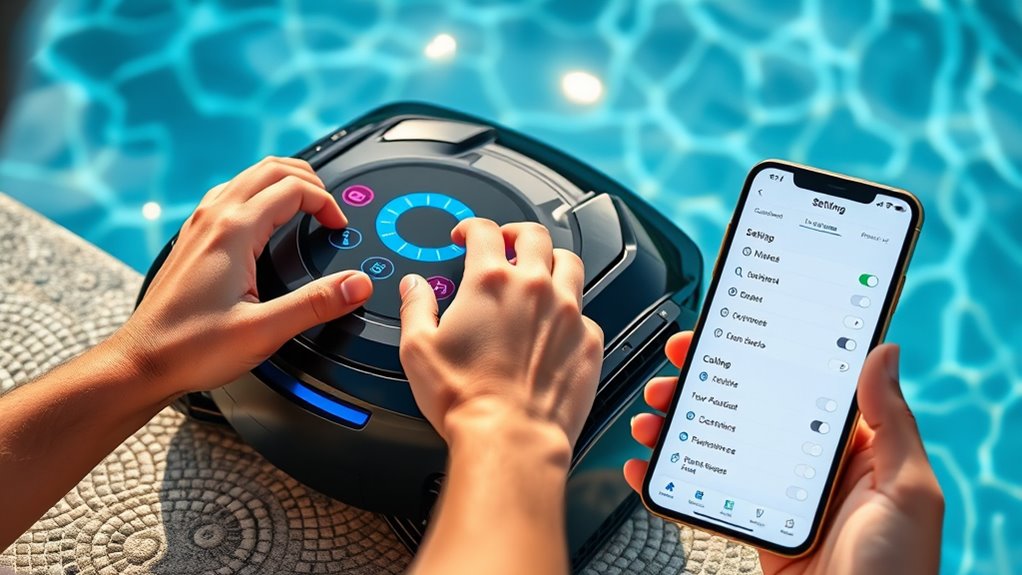
Steering and customizing your robotic pool cleaner’s settings is straightforward, allowing you to tailor its operation to your specific needs. Navigation settings let you control how your cleaner moves around your pool, such as setting boundaries or specifying cleaning zones. By adjusting these options, you prevent the cleaner from getting stuck or missing spots. Most models also offer customization options like choosing cleaning modes—spot cleaning, full coverage, or targeted areas—which optimize performance based on your pool’s size and shape. Using the control panel or mobile app, you can easily modify these settings to suit your preferences. Taking the time to customize navigation and other options ensures your cleaner works efficiently, saving you time and effort while keeping your pool spotless.
Testing and Troubleshooting Common Issues
When your robotic pool cleaner isn’t functioning as expected, systematic testing can help identify the problem quickly. Start by checking sensor calibration; misaligned sensors can cause erratic movement or missed spots. Ensure the software is up to date, as manufacturers often release updates that fix bugs and improve performance. If issues persist, consider these troubleshooting steps:
- Inspect and clean sensors and brushes
- Recalibrate sensors if necessary
- Update software via the manufacturer’s app or website
- Check for clogs or debris in the filter and intake
- Reset the device and perform a test run
Addressing these key areas can resolve common issues efficiently. Staying proactive with sensor calibration and software updates keeps your robotic cleaner running smoothly and extends its lifespan.
Maintaining and Storing Your Pool Cleaner
To keep your robotic pool cleaner performing at its best, regular maintenance and proper storage are essential. Focus on filter maintenance by cleaning or replacing filters regularly to ensure ideal suction and dirt removal. When storing your cleaner, dry it thoroughly to prevent mold and corrosion. Store it in a cool, shaded area away from direct sunlight to prolong its lifespan. Use these storage tips to avoid damage and keep your cleaner ready for next season.
| Maintenance Tips | Storage Tips |
|---|---|
| Clean filters after each use | Dry completely before storing |
| Check for debris in brushes | Store indoors in a dry place |
| Replace filters annually | Keep away from extreme temperatures |
Frequently Asked Questions
How Do I Update the Firmware on My Robotic Pool Cleaner?
To update the firmware on your robotic pool cleaner, first verify it’s connected via wireless connectivity. Check the manufacturer’s app or website for the latest firmware updates. Usually, the app will notify you when an update is available. Follow the instructions to download and install the firmware update directly through the app. Keep your cleaner connected during the process, and avoid turning it off until the update completes successfully.
Can I Use My Pool Cleaner in Saltwater Pools?
You can use your pool cleaner in saltwater pools if it’s labeled as saltwater compatible. Always check the manufacturer’s guidelines to guarantee compatibility. Regular maintenance tips include rinsing the cleaner after use to prevent corrosion and inspecting parts for salt buildup. Using a saltwater-friendly robotic cleaner helps extend its lifespan, so follow the manufacturer’s advice to keep it working efficiently in your saltwater pool.
What Safety Precautions Should I Follow During Setup?
During setup, you should prioritize electrical safety by ensuring all power sources are off before handling the cleaner. Wear personal protective equipment like gloves and non-slip shoes to prevent electrical shocks and injuries. Keep the area dry and avoid contact with water when plugging in or disconnecting the device. Always follow the manufacturer’s instructions for safe setup, and double-check that all connections are secure before turning the cleaner on.
How Do I Extend the Cleaning Cycle Duration?
To extend the cleaning cycle duration, you need to adjust the cycle settings on your robotic pool cleaner. Check your user manual for instructions on how to access the programming menu. Usually, you can extend the duration by increasing the time in the cycle settings or selecting a longer cleaning mode. Make sure your device is fully charged, then save the changes to ensure your cleaner runs longer during each session.
Is There a Way to Monitor Cleaning Progress Remotely?
Did you know 75% of pool owners find remote monitoring a game-changer? With mobile app control, you can easily track your robotic pool cleaner’s progress from anywhere. Simply open the app, check its current status, and see which areas have been cleaned. This feature lets you stay updated without being physically present, making pool maintenance more convenient and ensuring your cleaner’s efficiency at all times.
Conclusion
Now that you’ve set the stage like Da Vinci preparing his masterpiece, your robotic pool cleaner is ready to perform with precision and grace. With proper setup and programming, you’ll enjoy sparkling waters effortlessly, just as a maestro conducts a symphony. Remember, regular maintenance keeps your device in harmony. Embrace this modern marvel, and let it work its magic, turning your pool into a pristine oasis worthy of the gods themselves.