
To build a DIY plunge pool, start with planning and designing your space, considering size, features, and heating systems. Next, mark out and excavate the area carefully, adding a solid base of gravel or sand. Install durable waterproof lining, ensuring all edges are sealed tightly and wrinkles are smooth. Finish by fitting any structural supports or features, then fill the pool gradually, connect your heater, and perform regular maintenance. Follow these steps to create your perfect plunge pool — learn more below.
Key Takeaways
- Plan and design the pool, selecting size, features, and heating options before starting construction.
- Prepare the site with accurate excavation, base leveling, and drainage layer installation.
- Install waterproof lining, ensuring proper fitting, sealing, and wrinkle elimination.
- Add structural supports, features like steps or benches, and secure the lining inside the excavated area.
- Fill the pool gradually, connect heating systems, and perform regular maintenance and inspections.

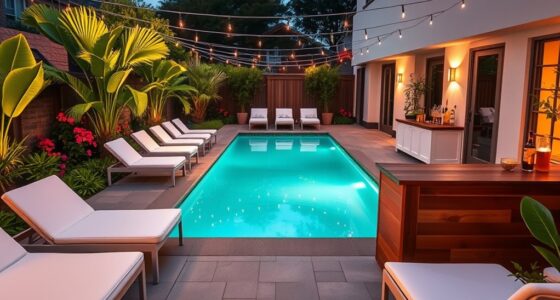
A DIY plunge pool is a cost-effective way to create an invigorating retreat right in your backyard. You can customize the size, shape, and features to suit your space and preferences, making it a worthwhile project for any homeowner. One of the first considerations is ensuring your pool stays at a comfortable temperature, which involves planning for proper pool heating. You’ll want to select an efficient heating system, such as a solar heater or a small electric heat pump, and incorporate it into your design from the start. This means positioning your pool close to a power source and making space for the heating equipment. In addition, paying close attention to waterproof lining is essential. A high-quality waterproof lining prevents leaks and protects your surrounding landscape, so choose durable, UV-resistant materials that can withstand outdoor elements. Installing the waterproof lining properly is vital; it should be fitted tightly and sealed well around edges and corners to avoid future drips or damage.
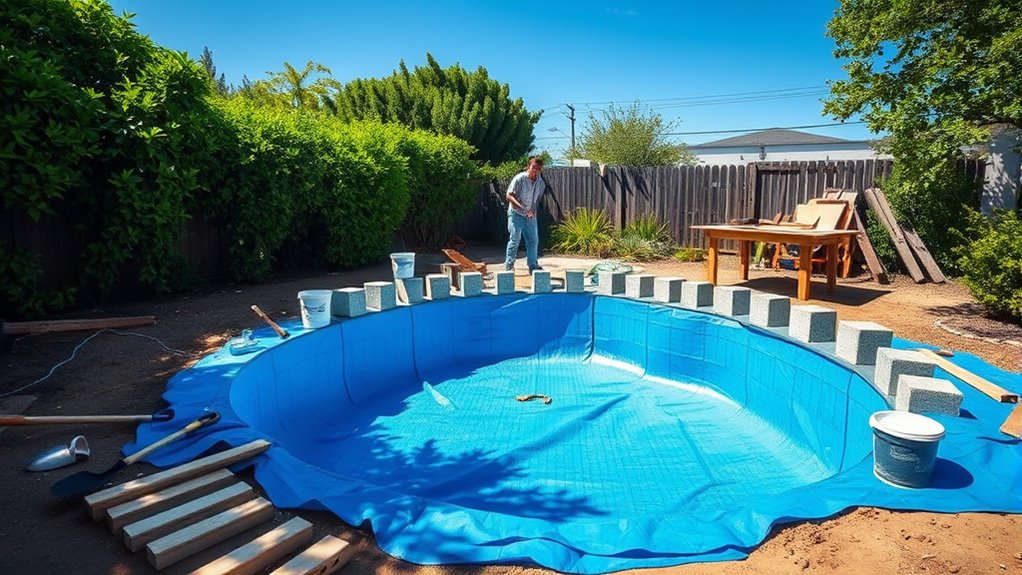
Once you’ve gathered your materials and planned your layout, you’ll move on to excavation. This step involves marking out the pool’s dimensions, digging the hole, and ensuring the base is level. Using a laser level or string line helps keep things precise. After excavation, it’s time to prepare the base with a layer of gravel or sand, which provides drainage and stability. When the base is ready, you can lay down your waterproof lining, carefully unfolding and fitting it into the excavated area. Make sure to smooth out any wrinkles and secure the lining to prevent shifting or tearing during filling. When the waterproof lining is in place, you’ll install the pool’s structural supports, if needed, and add any additional features like steps or benches.
Filling your pool is next, and as you do, check for any leaks or issues with the waterproof lining. Once filled, you can connect your pool heating system, ensuring it’s functioning efficiently to keep your water warm year-round. Regular maintenance, such as checking the lining for tears and monitoring your heater’s performance, will extend your pool’s lifespan and keep it inviting. Additionally, selecting compact designs enhances portability and ease of setup, making your DIY plunge pool even more convenient. Throughout the process, safety should be a priority—use proper tools, wear protective gear, and follow local regulations. Building your DIY plunge pool might take a few weekends, but the satisfaction of creating a personalized, relaxing space in your backyard is well worth the effort. With attention to waterproof lining installation and thoughtful pool heating choices, you’ll enjoy a revitalizing dip anytime you want.
Frequently Asked Questions
What Permits Are Required for Building a Plunge Pool?
You’ll need to check your local building codes for permits before building your plunge pool. Typically, you must secure a permit for pool fencing to ensure safety and compliance. Also, consider permits related to water treatment systems to meet health standards. Failing to obtain the necessary permits can lead to fines or having to dismantle your pool, so always verify requirements with your local authorities before starting construction.
How Much Does a DIY Plunge Pool Typically Cost?
A DIY plunge pool usually costs between $3,000 and $8,000, depending on size, materials, and extras. Think of it as planting a seed—you need to plan your budget carefully to avoid unexpected costs. For precise cost estimation, consider factors like excavation, liner, and plumbing. Budget planning guarantees you’ll have enough resources to complete your project without surprises, making your backyard oasis a reality without breaking the bank.
What Safety Precautions Should I Take During Construction?
You should prioritize safety during construction by installing pool fencing to prevent accidental falls and make certain it’s sturdy and compliant with local regulations. Always double-check electrical safety by hiring a qualified electrician for wiring and grounding, avoiding any shortcuts. Keep the work area clear of debris, wear protective gear, and follow all safety guidelines. These precautions help protect you and others while building your DIY plunge pool.
Can I Install a Plunge Pool Above Ground?
Yes, you can install a plunge pool above ground. Just make certain your pool accessories, like ladders and safety rails, are compatible with an above-ground setup. Incorporate landscaping design to blend the pool seamlessly into your yard, creating a natural look. Make sure the ground is level and sturdy enough to support the weight. Proper installation and thoughtful landscaping will enhance safety, durability, and aesthetic appeal of your above-ground plunge pool.
How Long Does a DIY Plunge Pool Typically Last?
A DIY plunge pool typically lasts 10 to 15 years with proper pool maintenance and waterproofing techniques. To maximize its lifespan, you should regularly clean the pool, check for leaks, and maintain water chemistry. Applying quality waterproofing techniques during construction helps prevent damage from water exposure. Keep up with routine maintenance and address issues promptly, and your plunge pool can provide years of revitalizing enjoyment.
Conclusion
Building your DIY plunge pool is more than just a project; it’s a reflection of your dedication and vision. As you fill it with water, think of it as filling your life with refreshment and tranquility. Each task completed is like planting seeds of relaxation, symbolizing your commitment to self-care and sanctuary. When you step into your finished pool, you’re not just cooling off—you’re immersing yourself in a symbol of your perseverance and the oasis you’ve created through your own hands.