
Building a DIY plunge pool over a weekend is possible if you plan carefully and keep the design simple. Focus on a manageable size, use preformed shells or liners, and gather all supplies in advance. Prioritize a strong foundation, quick installation, and proper connections for plumbing and filtration. With the right approach, you can enjoy your new plunge pool sooner, and if you keep going, you’ll discover tips to make it safer and easier to maintain.
Key Takeaways
- Proper planning and material selection can enable a basic plunge pool build within 1-2 days.
- Using preformed shells or liners simplifies installation, reducing construction time significantly.
- Excavation, foundation, and setup are the most time-consuming steps but can be completed quickly with preparation.
- Plumbing and filtration installation require attention but can be streamlined with ready-made components.
- Ongoing maintenance and safety features are essential, even for a quick DIY project, to ensure long-term use.
Creating your own plunge pool can be a rewarding and cost-effective way to enjoy a private oasis right in your backyard. If you’re thinking about building one over a weekend, it’s important to understand what it takes and what to prioritize. While a DIY plunge pool can be a satisfying project, you’ll need to plan carefully, especially around pool maintenance and safety considerations. These are essential to guarantee your new feature remains clean, safe, and enjoyable for years to come.
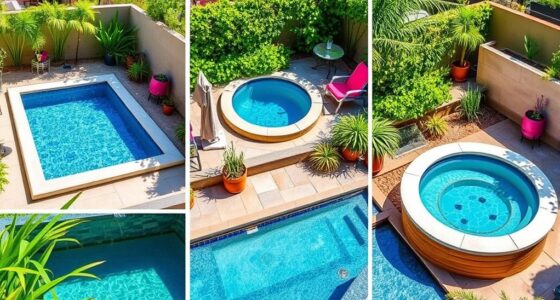
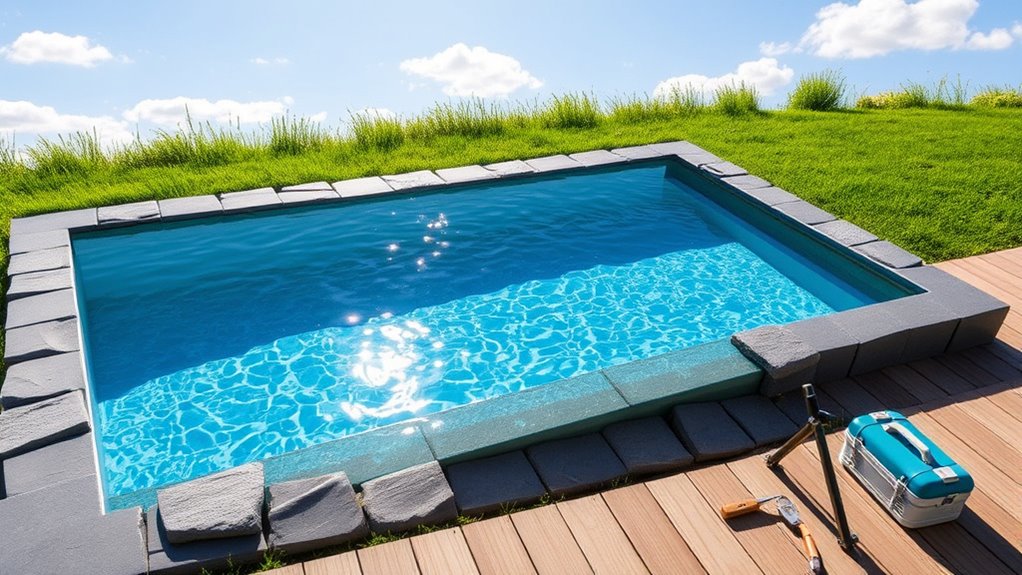
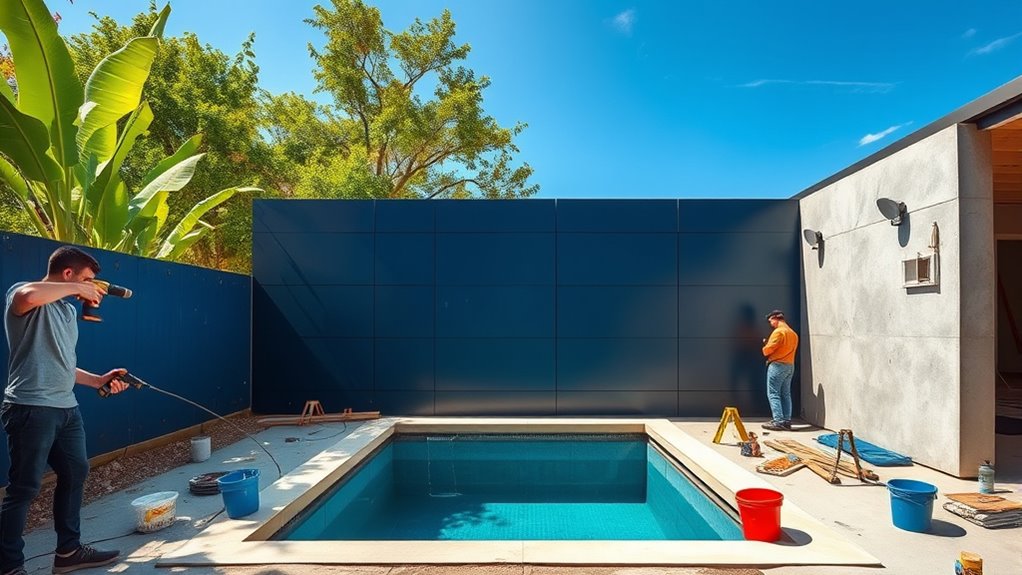
First, assess your space and materials. You want a compact, manageable size that fits your yard without overwhelming it. Using preformed concrete shells or flexible liners can simplify installation, saving you time. Once you’ve outlined your design, gather supplies such as a suitable excavation tool, a sturdy frame, plumbing components, and a filtration system. Keep in mind that a proper foundation is crucial for stability and longevity, so don’t rush this step. With the right planning, you can have most of the physical work done in a day or two.
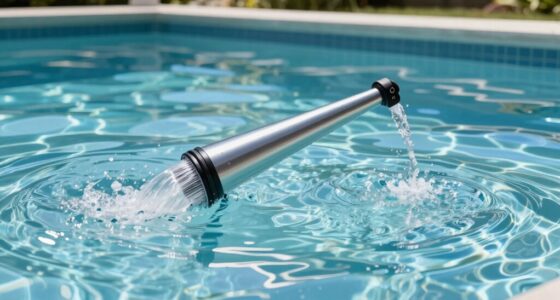
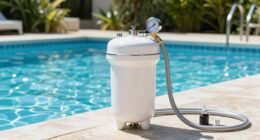
However, building the pool is just part of the process. Pool maintenance is critical for keeping the water clean and safe. You’ll need to install a reliable filtration system and develop a regular cleaning schedule. This means checking and balancing pH levels, adding chlorine or other sanitizers, and removing debris frequently. Neglecting maintenance can lead to algae growth, bacteria buildup, and equipment failure, which can turn your relaxing retreat into a health hazard. Setting up automated systems or timers can help streamline these chores, making weekend maintenance manageable.
Safety considerations are equally important. You should include safety features like a non-slip surface around the pool, secure fencing if needed, and a cover when it’s not in use. Make sure the electrical connections for your pump and lighting are done following local codes to prevent hazards. If children or pets will have access, install locks or alarms to prevent accidents. Remember, a pool is an enjoyable feature but also a potential risk if safety isn’t prioritized. Proper signage and clear boundaries can help remind everyone of safety rules. Additionally, understanding the basics of pool chemistry can help you maintain optimal water quality and safety standards.
While building a plunge pool over a weekend is feasible with careful planning, it’s essential to contemplate ongoing maintenance and safety. Investing time in these areas ensures your backyard oasis remains a safe, clean, and inviting space for relaxation. With the right approach, you’ll enjoy your DIY plunge pool not just as a weekend project, but as a lasting addition to your home.
Frequently Asked Questions
What Is the Average Cost of Building a DIY Plunge Pool?
The average cost of building a DIY plunge pool varies based on your material options and size. Conducting a cost analysis helps you budget effectively. You might spend anywhere from $2,000 to $8,000 depending on materials like concrete, liner, or vinyl, and whether you do it yourself or hire help. Always consider costs for permits, tools, and accessories to make certain your project stays within budget.
Are There Any Legal Permits Required for Installation?
Think of permits and zoning regulations as the gatekeepers to your backyard oasis. Before you plunge into building your DIY plunge pool, you need to check permit requirements and local zoning laws. These rules vary by area, so contact your city or county office to make sure you’re compliant. Ignoring permits could turn your project into a costly wave of trouble, so get approval first and build with confidence.
How Much Space Is Needed for a Typical Plunge Pool?
When considering a plunge pool, you’ll want to think about the pool size and space requirements. Typically, a plunge pool needs about 7 to 10 feet in length and 4 to 6 feet in width, depending on your desired capacity. Make sure you have enough space in your yard to comfortably accommodate these dimensions, leaving room for access and maintenance. Proper planning guarantees your pool fits well and functions efficiently.
Can a DIY Plunge Pool Be Heated or Cooled?
Imagine turning your tiny DIY plunge pool into a luxury spa—sounds perfect, right? Well, you can heat or cool it, but you’ll need good pool insulation and an efficient water circulation system. Insulation keeps the temperature steady, while water circulation ensures even heating or cooling. With the right setup, you can enjoy a warm soak or a invigorating dip, no matter what the weather’s doing outside.
What Maintenance Is Required for a DIY Plunge Pool?
You need to regularly check and balance your pool chemicals to keep the water safe and clear. Make sure to clean or replace the water filtration system to prevent debris buildup and maintain proper circulation. Skim the surface, vacuum the bottom, and monitor water levels. By staying on top of these tasks, you’ll guarantee your DIY plunge pool remains inviting, clean, and ready for use whenever you want.
Conclusion
So, you’ve mastered the art of building a plunge pool in a weekend—who knew? Now you can impress neighbors with your DIY prowess while secretly wondering if you’ve just turned your backyard into a questionable archaeological site. Just remember, all that’s left is to keep it clean and avoid turning your new masterpiece into a giant mud bath. But hey, who needs luxury when you’ve got a “DIY plunge pool”—your weekend’s greatest gamble!