When installing a pool plumbing kit, start by ensuring all PVC parts are clean and dry for a strong bond. Perform dry fittings to check accuracy and gather any extra pipe or fittings needed for your setup. Apply fresh PVC glue to both the pipe and fitting, allowing them to set for at least 15 minutes. Regularly inspect connections for leaks to maintain a well-circulated pool. There’s more to discover about enhancing your installation process.
Key Takeaways
- Ensure all PVC parts are clean and dry for strong bonds before installation to prevent leaks.
- Perform dry fitting to check accuracy of angles and fit before gluing components together.
- Apply fresh PVC glue to both the pipe and fitting, allowing at least 15 minutes for the bond to set.
- Regularly inspect connections for leaks and clear any clogs to maintain optimal water flow.
- Budget for additional materials and consider consulting a professional if you’re unsure about the installation process.

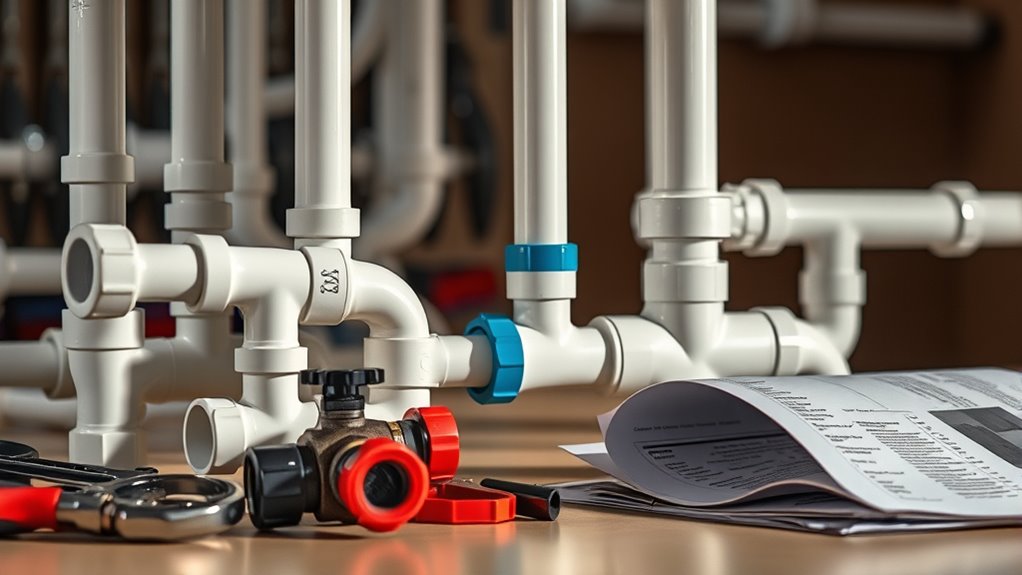
When it comes to setting up your pool, a reliable pool plumbing kit is fundamental for guaranteeing smooth water circulation and maintenance. You’ll often find that these kits include Schedule 40 PVC fittings, which are durable and resistant to corrosion, making them an excellent choice for your pool plumbing.
Flex hoses, like the 1.5″ x 100′ schedule 40 flex pipe, are typically included for easy installation, allowing you to navigate tight spaces without hassle. In deluxe kits, you’ll usually find valves, such as Jandy valves, that help manage water flow effectively.
Flex hoses facilitate seamless installation in tight spaces, while valves like Jandy valves enhance water flow management.
Hayward Pool Plumbing Packs may also come with key components like skimmers, returns, and main drains, which are essential for keeping your pool clean and well-circulated. Remember, while 1.5″ is the standard size for many installations, you might need to take into account 2″ fittings based on your specific pool setup.
Before diving into installation, make certain all your PVC parts are clean and dry. This step is critical for guaranteeing strong bonds when you glue them together. Remove any burrs from cut pipes to guarantee smooth connections, and don’t forget the importance of dry fitting; assemble your parts without glue first to check for fit and angle accuracy.
When it’s time to glue, apply fresh PVC glue to both the pipe and fitting just before joining them. Allow the glued fittings to set for at least 15 minutes before you put them to use.
As you install your plumbing, reflect on your pool’s layout and the distance to your equipment. You might need extra pipe if your equipment is positioned far away from the pool. If you plan to add water features like jets, make sure you have additional fittings on hand.
Check with your local supply store for any extra materials you might need, especially if they’re not included in your kit. Common installation issues include leaks, clogged fittings, and glue drips. Inspect your connections regularly to catch any leaks early and clear clogged fittings to maintain water flow.
If you’re tackling this project as a DIY, be aware that you’ll need some plumbing knowledge, and it’s wise to budget for any additional materials or tools. If you feel uncertain, think about consulting a professional to guarantee everything’s set up correctly.
With a good plumbing kit and some careful planning, you can enjoy a well-functioning pool.

INTEX 2,650 GPH Krystal Clear Sand Filter Pump and Saltwater Pool Chlorine System for Above Ground Pools, Pool Cleaner System with Automatic Timer
✔ FRESH AND CLEAN WATER – QX2600 uses sand for excellent filtration combined with the QS1200 saltwater system...
As an affiliate, we earn on qualifying purchases.
Frequently Asked Questions
What Tools Are Essential for Installing a Pool Plumbing Kit?
When you’re installing a plumbing kit, you’ll need several essential tools.
Grab wrenches and socket sets for tightening fittings, along with tubing cutters to cut pipes to the right lengths. A drill will help you create necessary holes, while a measuring tape guarantees precision.
Don’t forget pipe glue and cleaner for securing connections, plus safety glasses and gloves to protect yourself during the process.
Having these tools will make your installation smoother and safer.
Can I Install a Pool Plumbing Kit Myself?
Installing a pool plumbing kit yourself can feel like diving into the deep end—exciting but intimidating. If you’re handy and have the right tools, you can tackle the job.
Just remember to plan carefully, gather materials, and follow safety guidelines. If you run into issues, don’t hesitate to consult professionals.
With patience and care, you can create a functional and efficient plumbing system for your pool. Enjoy the process!
How Do I Maintain My Pool Plumbing System?
To maintain your pool plumbing system, you should conduct yearly inspections to check for leaks and loose fittings.
Regularly clean your pump and filter, making sure skimmers and drains are free from debris.
Inspect pipes for damage and replace them as needed.
Don’t forget to winterize your plumbing during colder months to prevent freezing.
Keeping your equipment area clear and maintaining thorough records will also help guarantee everything runs smoothly.
What Are Common Mistakes During Installation?
You wouldn’t believe the chaos that can ensue from installation mistakes!
Picture water gushing everywhere because you chose the wrong pipes or didn’t size your pump right. You might end up with leaks and system failures that’ll drain your wallet faster than a pool party!
Forgetting to follow manufacturer guidelines or ignoring local codes can turn your dream pool into a nightmare.
Always double-check connections and verify everything’s level to avoid disaster.
Where Can I Buy a Pool Plumbing Kit?
You can buy a pool plumbing kit from various retailers. ePoolSupply and Pool Supply Unlimited offer a range of supplies, including PVC fittings and skimmer kits.
Check out PoolSupplies.com for replacement parts tailored to your pool type. If you prefer a complete solution, Pool Warehouse specializes in construction kits.
Online marketplaces like Amazon and eBay also have numerous options. Just verify the kit matches your pool’s specifications for the best results.

Pool Lights for Inground Pool, 60W 10 Inch LED Inground Pool Light with Controller, Remote and APP Control for Wet Niche, Color Changing Underwater Swimming Pool Lights with 50 Foot Cord
【3 Ways to Control: APP + Controller + Remote】Traditional led pool lights often suffer from signal loss due...
As an affiliate, we earn on qualifying purchases.
Conclusion
So, you’ve mastered the art of pool plumbing kits, huh? Congratulations! You’re now officially qualified to fix your pool like a pro—or at least pretend to be one while your neighbors admire your “expertise.” Just remember, if all else fails, there’s always duct tape and a good story about how you almost became a certified plumber. Happy swimming, and may your pipes never leak—unless it’s the “water feature” kind that makes you look fancy!

XtremepowerUS 24" Sand Filter Inground Ground Above Ground System Swimming Pool 29,400 Gallons
The Filter are perfectly engineered to provide optimum flow rates that promotes clean water quality
As an affiliate, we earn on qualifying purchases.
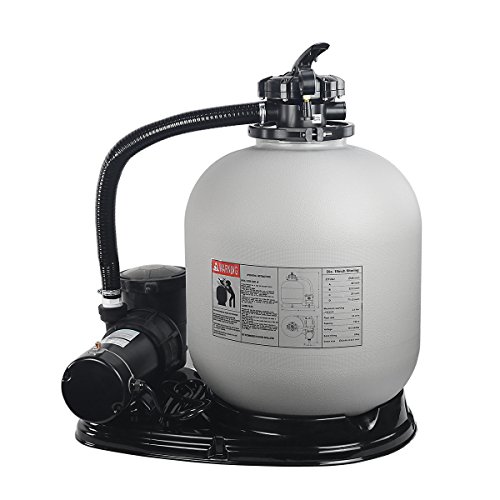
XtremepowerUS 19" Sand Filter 1.5HP Pump 4500 GPH Swimming Pumps System & Filters Combo Set Multi-Port Valve, for Domestic and Commercial Pools up to 18,000 Gallons Pool
Powerful, All-in-One Performance - With an impressive flow rate of 4,500GPH, 1.5HP sand filter pump is ideal for...
As an affiliate, we earn on qualifying purchases.