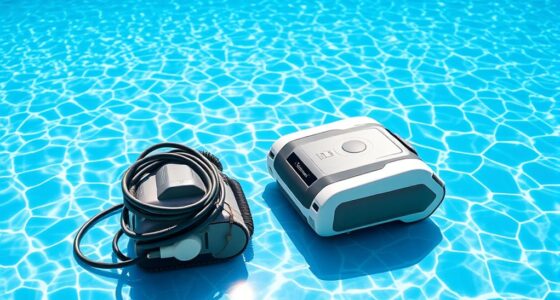
To replace parts on your suction pool cleaner, first identify any worn or damaged parts like hoses, brushes, or filters. Gather the needed tools such as screwdrivers or pliers, turn off and unplug your device, then carefully remove and replace each component, ensuring connections are tight. After reassembling, test your cleaner to make sure it operates smoothly. If you keep the process in mind, you’ll learn detailed steps to keep your cleaner in top shape.
Key Takeaways
- Turn off and unplug the cleaner before beginning part replacements to ensure safety.
- Identify and remove worn or damaged hoses, brushes, or filters following manufacturer instructions.
- Use appropriate tools like screwdrivers and pliers for removing clips, fasteners, and fittings.
- Install new parts securely, ensuring proper alignment and tight connections to prevent leaks and maintain suction.
- Test the cleaner post-repair for smooth operation, checking for leaks, proper movement, and cleaning coverage.
Identifying Worn or Damaged Parts in Your Pool Cleaner
Since worn or damaged parts can hinder your pool cleaner’s performance, it’s important to regularly inspect it. Over time, components like brushes, hoses, and wheels may show signs of wear, reducing the cleaner’s efficiency and shortening its pool cleaner lifespan. Look for cracks, tears, or buildup on these parts, and check for loose or broken connections. Damaged parts often cause skipping, incomplete cleaning, or unusual noises. If your cleaner is still under part warranty, confirm whether replacements are covered before purchasing new parts. Identifying issues early helps prevent more extensive damage and extends your cleaner’s lifespan. Regular inspection ensures ideal function and saves money in the long run by avoiding costly repairs or replacements. Additionally, understanding vetted parts and their compatibility can help ensure you select the best replacements for lasting performance. Regularly reviewing glycolic acid benefits can also serve as a reminder to maintain overall equipment and skin health for optimal results. Paying attention to component wear can prevent unexpected breakdowns and keep your cleaner operating smoothly.
Tools Needed for Replacing Parts on Suction Pool Cleaners
Before you start replacing parts on your suction pool cleaner, gather the necessary tools to make the process smooth and efficient. Having the right tools helps you stick to cleaning schedules and prevents unnecessary delays. You’ll need:
- Flathead screwdriver for removing clips and fasteners
- Pliers to grip and manipulate hoses or small parts
- Replacement parts specific to your cleaner model
- A clean cloth for wiping components and storing small parts safely
Using these tools ensures you can handle repairs confidently. Store your tools in a designated container after use, following proper storage tips to keep them in good condition. Proper maintenance procedures and understanding the signs and symptoms of malfunctioning parts can help prevent more serious issues later. Regular inspection of your suction system can help identify issues early and extend the lifespan of your pool cleaner. Familiarity with common pool cleaner problems can streamline your repair process and save time. Additionally, inspecting your suction system periodically can help identify issues early. This preparation minimizes downtime, keeps your pool cleaner functioning at its best, and makes future maintenance easier.
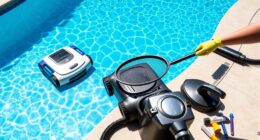
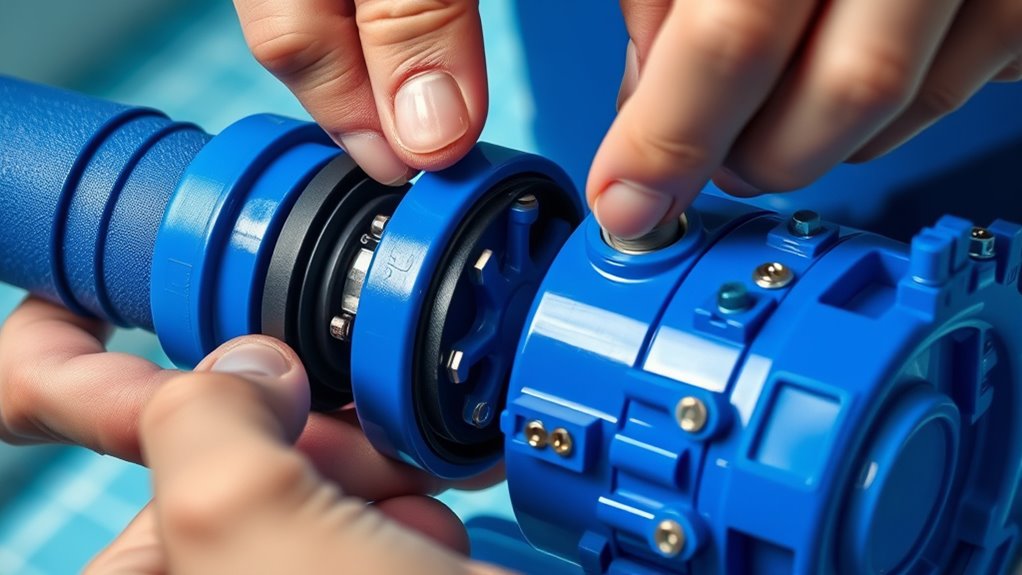
Removing the Old Hose and Replacing It
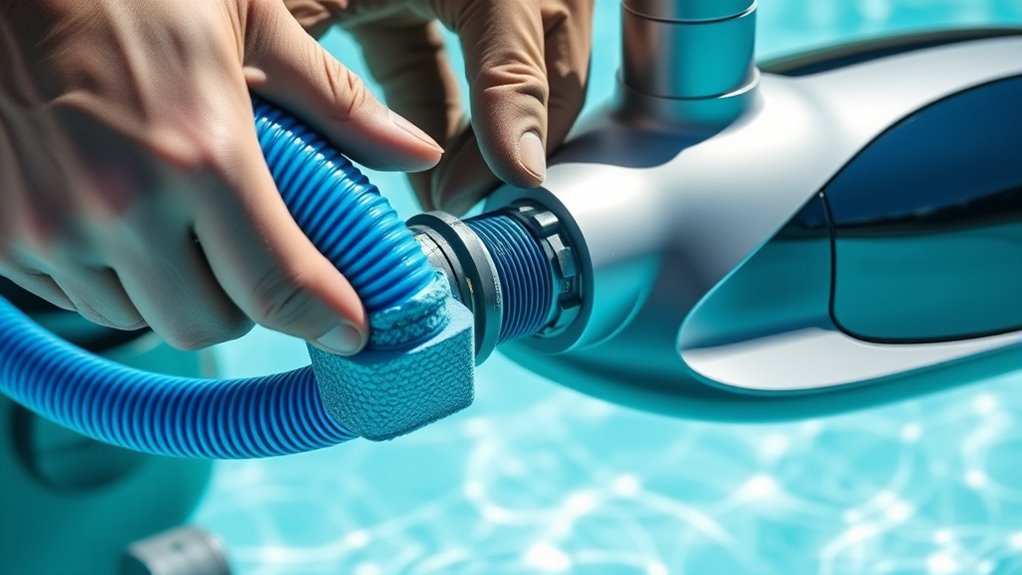
To replace the hose on your suction pool cleaner, start by turning off the cleaner and unplugging it from the power source to guarantee safety. Next, disconnect the hose connection from the cleaner and the skimmer or pump. Carefully remove the old hose, checking for cracks or wear. When installing the new hose, align it properly with the hose connection points. Secure it tightly to prevent leaks. Use the table below to ensure a proper hose connection:
| Step | Action |
|---|---|
| Step 1 | Turn off and unplug the cleaner |
| Step 2 | Disconnect the old hose from the cleaner |
| Step 3 | Remove the old hose from the skimmer or pump |
| Step 4 | Attach the new hose, ensuring proper alignment |
| Step 5 | Tighten connections securely to prevent leaks |
This process guarantees a smooth hose replacement and excellent cleaner performance. Additionally, ensuring the hose connections are properly sealed and secured can help maintain optimal suction and prevent leaks. Properly inspecting the hose connection points for signs of wear or damage can also improve the longevity of your pool cleaner. Regular maintenance and checking for wear and tear on the hose can further extend its life and ensure consistent cleaning performance.
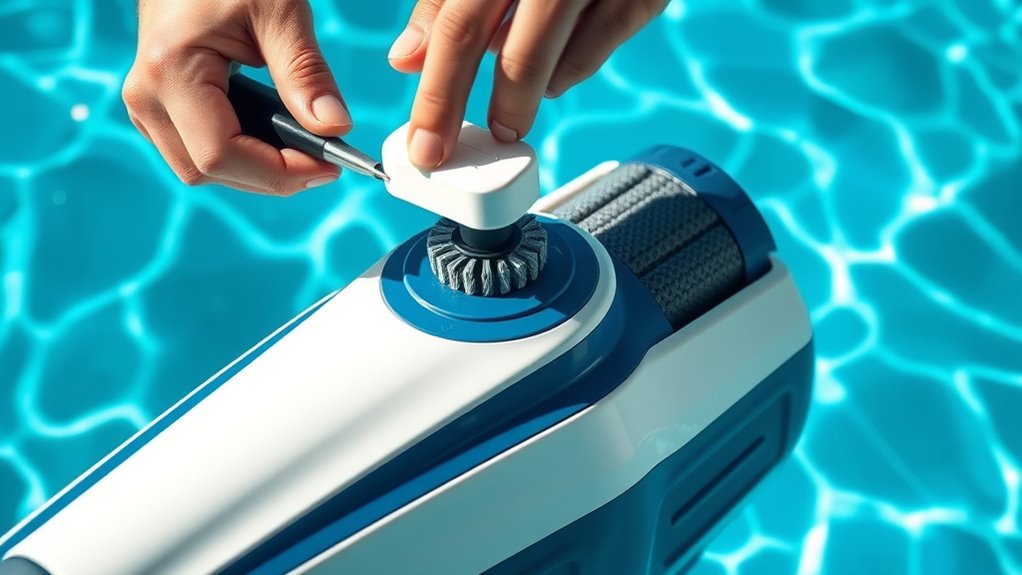
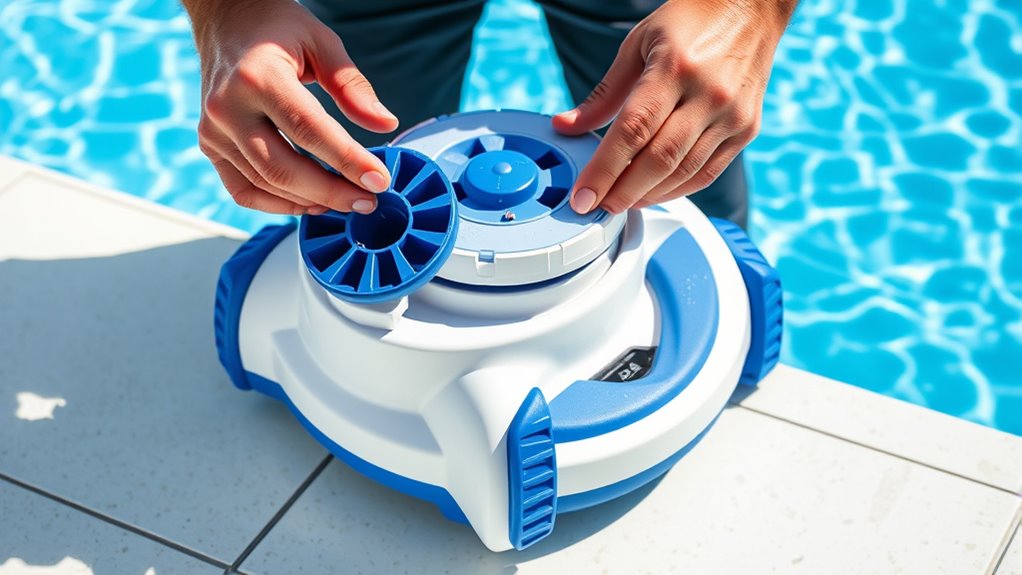
Swapping Out the Brushes and Nozzles
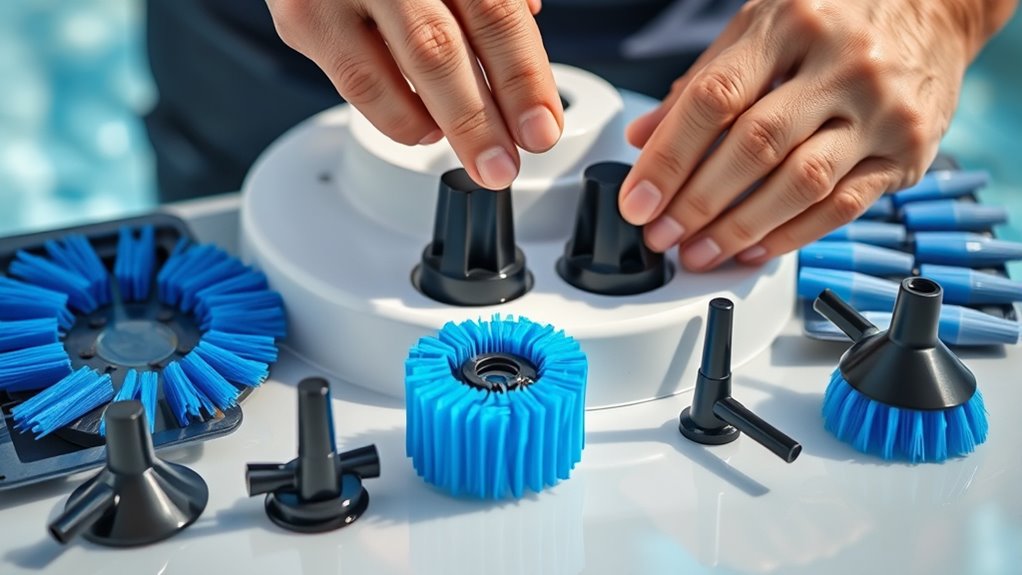
After removing and replacing hoses, it’s time to focus on maintaining your cleaner’s effectiveness by swapping out the brushes and nozzles. Regular brush replacement ensures your cleaner scrapes debris efficiently, while nozzle upgrades optimize suction power. Here’s what you might do:
- Remove worn brushes with a quick twist or pull, inspecting for damage.
- Swap out old nozzles for newer models designed for better debris pickup.
- Choose nozzles that suit your pool’s surface for targeted cleaning.
- Keep spare brushes and nozzles handy for easy brush replacement when needed.
- Regularly check the costs of divorce in Florida to plan your budget accordingly.
Upgrading nozzles can improve suction and overall performance, so consider your pool’s needs when selecting replacements. Regular maintenance of brushes and nozzles keeps your cleaner operating at peak efficiency.
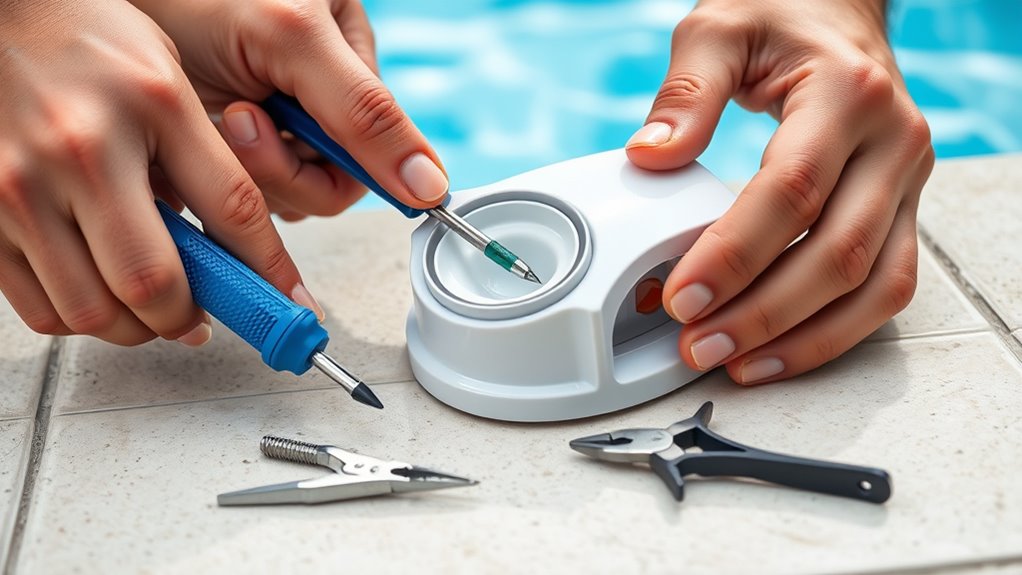
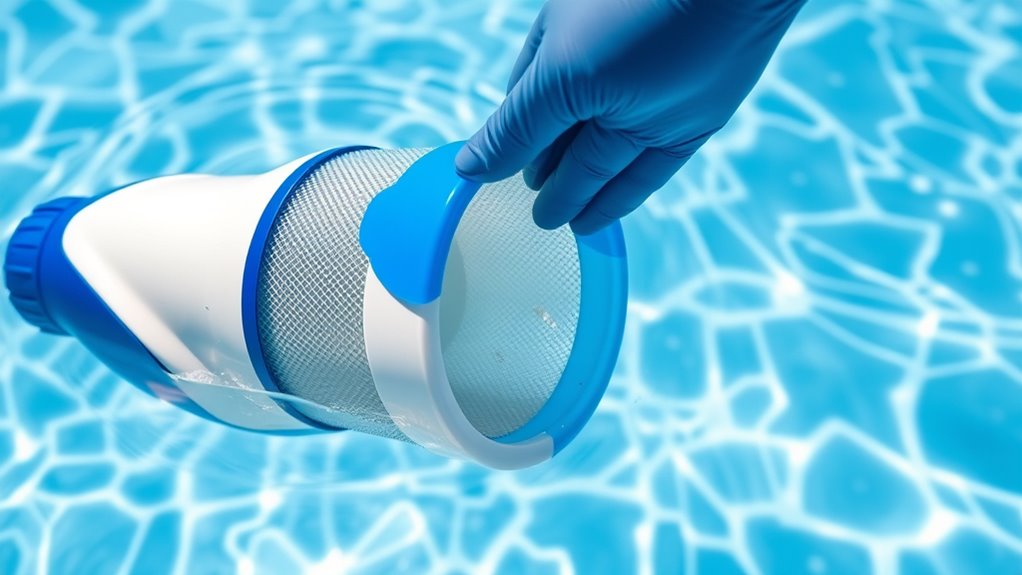
Replacing the Pool Cleaner’s Filter
To replace your pool cleaner’s filter, start by removing it carefully according to your model’s instructions. Next, choose a replacement filter that fits properly and matches the specifications. Once you have the right filter, you can easily install it and guarantee your cleaner works efficiently again. Proper maintenance ensures optimal performance and longevity of your filter system. Regularly inspecting your filter can also help identify potential vulnerabilities before they lead to failure. Being aware of necessary cookies can help you understand the importance of essential maintenance for your equipment. Additionally, following manufacturer guidelines for filter replacement can prevent damage and improve overall air quality and cleaning efficiency. Incorporating tuning techniques from automotive practices can sometimes be relevant for optimizing your pool cleaner’s operation and ensuring it functions at peak efficiency over time.
Filter Removal Steps
When replacing the filter on your suction pool cleaner, start by turning off the device and unplugging it to guarantee safety. Next, locate the filter compartment, usually accessible on the cleaner’s body. Carefully open the compartment and gently remove the filter, avoiding damage. Keep in mind, this is a good opportunity for filter maintenance, such as cleaning techniques to keep it performing at its best. To remove the filter properly:
- Release any clips or latches securing the filter.
- Gently lift the filter out, supporting its frame.
- Inspect the filter for debris or damage.
- Rinse it with clean water if cleaning is needed before installing a new one.
Following these steps ensures efficient cleaning and prolongs your pool cleaner’s lifespan. Always handle filters carefully to prevent tears or damage. Additionally, regular filter maintenance can enhance the efficiency of your pool cleaning system. Proper handling and routine checks help maintain pool cleaner performance and extend the lifespan of your equipment. Incorporating sound vibrations through gentle cleaning methods can further improve filter longevity. Being aware of filter replacement intervals can also help you plan maintenance and avoid unexpected downtime. Using proper cleaning techniques can further prevent damage and ensure optimal operation of your pool cleaner.
Choosing Replacement Filters
Choosing the right replacement filter is crucial for maintaining your pool cleaner’s performance and longevity. When selecting a filter, consider compatibility with your cleaner model and the filtration efficiency you need. Filter selection impacts how well debris is captured and how smoothly your cleaner operates. Check the manufacturer’s guidelines for recommended replacement frequency, as filters can become clogged over time, reducing suction and cleaning effectiveness. Regularly inspecting and replacing filters guarantees peak performance and prevents strain on the motor. Opt for high-quality filters designed for your specific cleaner to improve durability and filtration. Additionally, understanding the importance of proper maintenance can help extend the lifespan of your pool cleaner and ensure optimal operation. Proper maintenance practices, including timely filter replacements, are essential for optimal performance and efficiency. Incorporating advanced filtration technologies can further enhance the cleaning process and overall efficiency. Staying informed about current payment processing trends and security measures can also help you choose the best solutions for your needs. By choosing the correct filter and sticking to the recommended replacement schedule, you’ll keep your pool cleaner running efficiently and extend its lifespan.
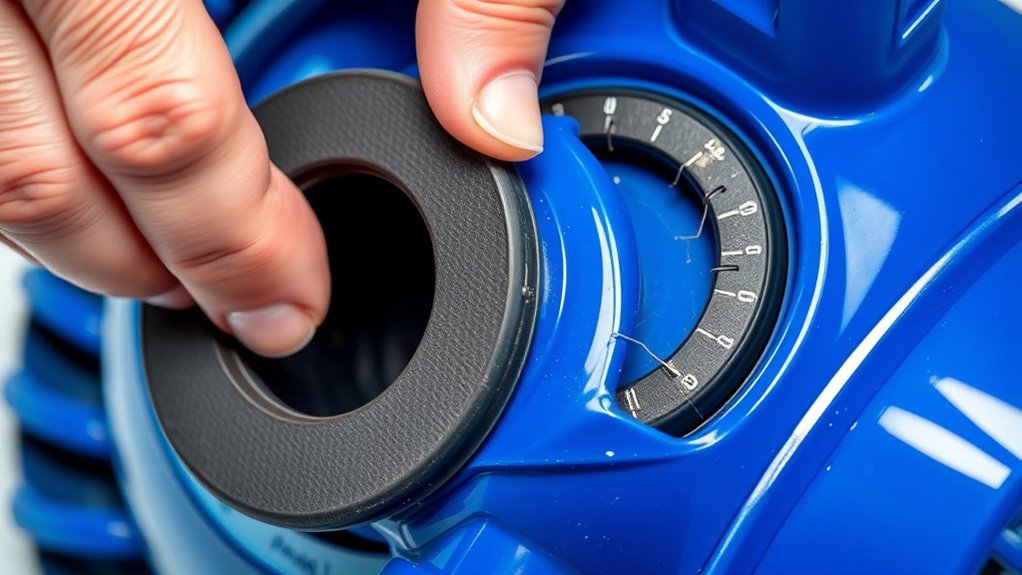
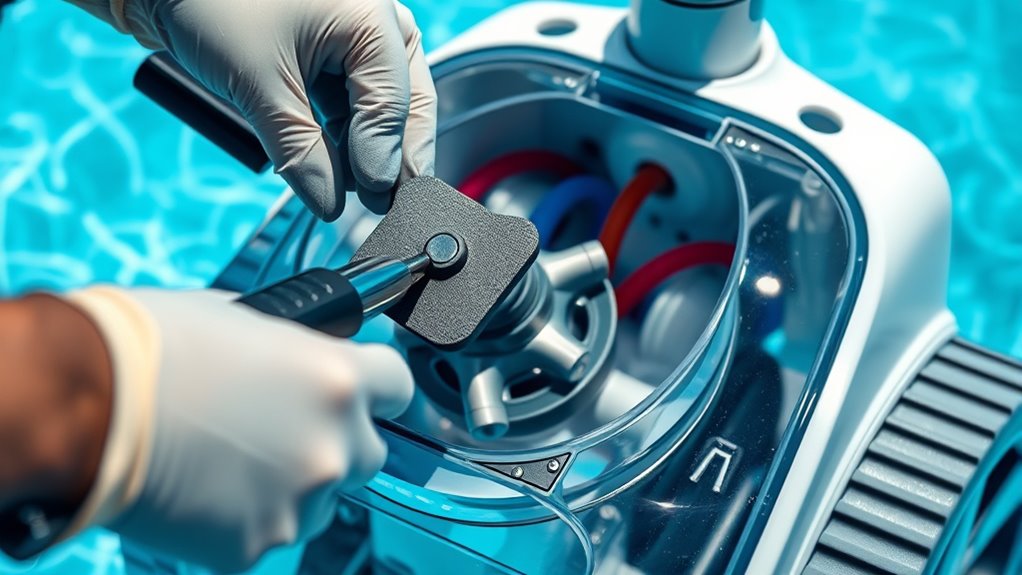
Repairing or Replacing the Drive Belt or Motor Components
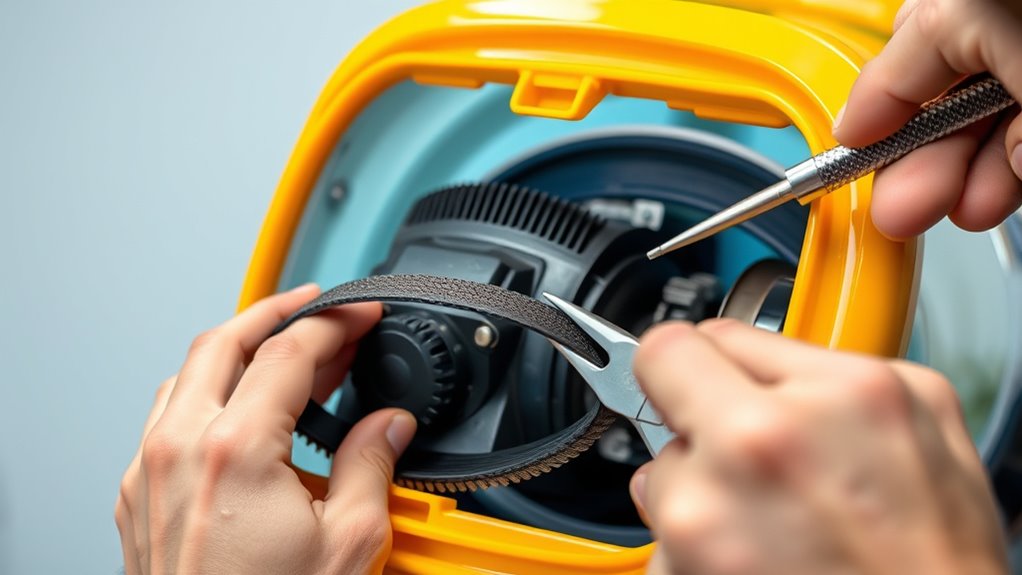
If your cleaner isn’t moving smoothly, it might be time to check the drive belt or motor. You should look for signs like fraying or slipping and follow proper procedures to replace or repair these parts. Troubleshooting common issues can help you get your cleaner back in top shape quickly.
Drive Belt Inspection Tips
Regularly inspecting the drive belt is essential to keep your suction pool cleaner operating smoothly. During drive belt inspection, look for signs of wear, cracking, or fraying that could cause failure. Check the belt tension to ensure it’s neither too loose nor too tight, as improper belt tension adjustment can reduce efficiency or damage components. Keep these tips in mind:
- Visually examine the belt for tears or thinning spots
- Confirm the belt sits properly on pulleys
- Test the belt tension by pressing it gently; it should have slight give
- Adjust tension if the belt feels loose or overly tight
Maintaining proper belt tension and inspecting for damage helps prolong the belt’s life and prevents breakdowns, keeping your cleaner running smoothly.
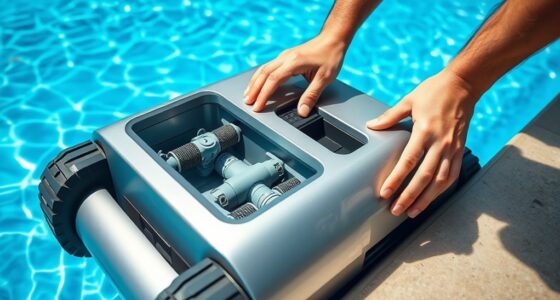
Motor Replacement Procedures
When replacing the motor or its components, it’s important to follow a systematic approach to guarantee proper installation and safe operation. First, disconnect the cleaner from the power source and remove the housing cover. Carefully detach the old motor, noting part compatibility. Check the wiring and mounting bracket, replacing any worn parts. Ensure the new motor matches the specifications for your model. Use the table below to help identify compatible parts:
| Old Part | New Part |
|---|---|
| Motor assembly | Compatible motor |
| Drive belt | Correct size belt |
| Mounting bracket | Same model bracket |
| Wiring connector | Same connector type |
Proper pool cleaner maintenance ensures longevity, and using compatible parts guarantees optimal performance. Always double-check part compatibility before installing.
Troubleshooting Common Issues
Troubleshooting common issues with your suction pool cleaner involves identifying problems with the drive belt or motor components. If your cleaner isn’t moving properly or making unusual noises, check for worn or broken drive belts, motor overheating, or electrical issues. Poor pool chemical balance or neglecting seasonal maintenance can also cause motor strain or belt deterioration. To diagnose, look for:
- Slipping or broken drive belt
- Motor overheating or failure
- Unusual noises during operation
- Reduced cleaning efficiency
Address these by inspecting and replacing damaged parts. Regularly maintaining pool chemistry and performing seasonal maintenance helps prevent issues. Properly balanced chemicals reduce corrosion, and seasonal checks keep components in good condition, minimizing the need for repairs. Staying proactive ensures your cleaner works smoothly year-round.
Reassembling and Securing the New Parts Properly
After replacing the faulty parts, it’s essential to reassemble the components correctly to guarantee your pool cleaner functions properly. Carefully align each part, ensuring seals and connections are secure to prevent leaks or malfunctions. Take your time to follow the manufacturer’s instructions, paying attention to proper placement. Maintaining a balanced pool chemical level and performing seasonal maintenance helps keep your cleaner in top shape and reduces the risk of damage during reassembly. Double-check that all clips, screws, and hoses are firmly attached before testing. Securing parts properly not only enhances performance but also extends the lifespan of your cleaner. Remember, a well-assembled cleaner operates more efficiently, saving you time and effort in future repairs or adjustments.
Testing Your Pool Cleaner After Repairs
Once you’ve reassembled your pool cleaner, it’s time to test its performance. Check that it moves smoothly without hesitation, look for any leaks around the repaired parts, and see if it cleans the pool as effectively as before. Addressing these points guarantees your cleaner works properly and avoids future problems.
Check for Proper Movement
Before you finish repairing your suction pool cleaner, it’s important to test its movement to guarantee everything works smoothly. Proper movement ensures ideal water circulation and helps maintain the pool’s chemical balance. Check if the cleaner moves freely across the pool floor without hesitation or getting stuck. Observe if it covers all areas evenly and changes direction smoothly.
To evaluate its performance, look for:
- A consistent, steady pace across different pool surfaces
- No signs of hesitations or abrupt stops
- Smooth changes in direction
- Even coverage without missed spots
If the cleaner isn’t moving properly, reassess the parts you replaced and ensure no obstructions or blockages. Proper water circulation depends on effective movement, which in turn helps keep your pool clean and balanced.
Inspect for Leaks
To guarantee your repaired pool cleaner is functioning correctly, you need to carefully inspect it for leaks. Leaks can cause poor cleaning performance and increase energy costs. Start by checking the hoses, connections, and seals for any signs of water escaping. Ensure your pool’s chemical balance is maintained; imbalances can weaken seals and lead to leaks. Also, review your pool skimmer maintenance, as debris or damage can affect the cleaner’s suction and cause leaks around the intake area. Fill the pool with water to the proper level, then run the cleaner and observe all connection points closely. Look for drips, damp spots, or decreased suction. Address any leaks immediately to keep your pool cleaner operating efficiently and extend its lifespan.
Confirm Cleaning Effectiveness
After completing repairs on your pool cleaner, guaranteeing that it cleans effectively is vital. To confirm its performance, observe how well it covers the pool surface and targets dirty spots. Check for consistent movement and suction, and verify that it’s picking up debris efficiently. You can also compare its results with alternative cleaning methods, like manual brushing or skimming, to see if it meets your standards. Remember, maintaining proper pool chemistry balance—such as correct pH and chlorine levels—helps your cleaner work better and lasts longer.
Consider these key points:
- Watch for even coverage across all pool areas
- Ensure debris is being collected without gaps
- Test its movement over different surfaces
- Maintain balanced pool chemistry for optimal cleaning
Maintaining Your Pool Cleaner to Prevent Future Issues
Regularly inspecting and cleaning your suction pool cleaner helps catch problems early and keeps it running smoothly. To prevent future issues, focus on maintaining proper pool chemical balance, as imbalanced water can cause buildup and damage. During seasonal maintenance, check for worn or cracked hoses and brushes, replacing them as needed. Keep the filter clean to guarantee ideal suction and prevent strain on the pump. Remove debris from the cleaner’s brushes and wheels regularly. Additionally, inspect seals and connections to prevent leaks. Consistent upkeep reduces the likelihood of breakdowns and extends the cleaner’s lifespan. By staying proactive with these maintenance tasks, you’ll ensure your pool cleaner operates efficiently, saving you time and costly repairs down the line.
When to Seek Professional Assistance

While many pool cleaner issues you can handle yourself, there are times when professional assistance becomes necessary. If you’re struggling with persistent problems despite checking the pool chemical balance and performing seasonal maintenance, it’s time to call in an expert. Seek help if you notice:
- Unusual or persistent leaks around the cleaner
- Frequent clogs despite cleaning
- Electrical issues or strange noises
- Difficulty maintaining proper suction or movement
These signs can indicate underlying problems that require specialized tools or knowledge. A professional can assess whether parts need replacing or if more complex repairs are necessary. Relying on an expert ensures your pool remains clean and safe, especially when issues stem from faulty parts or improper seasonal maintenance.
Frequently Asked Questions
How Often Should I Replace Parts on My Suction Pool Cleaner?
You should follow a maintenance schedule to keep your suction pool cleaner working efficiently. The replacement frequency depends on usage and water conditions, but generally, check parts like brushes, hoses, and impellers every few months. If you notice decreased cleaning performance, leaks, or damage, it’s time to replace those parts. Regular maintenance helps prevent major issues and extends your cleaner’s lifespan, ensuring your pool stays clean and ready for use.
Can I Use Generic Parts Instead of Original Manufacturer Replacements?
Did you know that 30% of pool issues stem from incompatible parts? When considering generic parts, you might save money, but compatibility concerns could lead to more problems down the line. It’s risky to use generic parts instead of original manufacturer replacements, as they may not fit or function properly, potentially damaging your cleaner or reducing its efficiency. Always check compatibility to ensure your pool stays clean and trouble-free.
What Are Common Signs My Pool Cleaner Needs Repairs?
If your pool cleaner isn’t working properly, you might notice it struggling with pool debris or making unusual motor noise. These signs indicate it needs repairs. When debris clogs the cleaner or the motor sounds louder than usual, it’s time to check for damage or wear. Addressing these issues early can prevent further damage and keep your pool sparkling clean. Regular maintenance helps catch problems before they get worse.
How Do I Dispose of Old or Damaged Pool Cleaner Parts Responsibly?
When you need to dispose of old or damaged pool cleaner parts, consider eco-friendly disposal options. You can recycle pool cleaner recycling programs or take the parts to a nearby recycling center that accepts plastic and metal components. Avoid throwing them in regular trash to prevent environmental harm. By choosing responsible disposal methods, you help protect the environment and support sustainable practices. Always check local guidelines for specific recycling instructions.
Are There Safety Precautions to Consider During Repairs?
When repairing your pool cleaner, you should prioritize safety precautions. Always unplug the device first to prevent electrical safety hazards. Handle any chemicals carefully, wearing gloves and eye protection if needed, to avoid skin or eye irritation. Keep your workspace dry and well-ventilated. Following these steps guarantees you avoid electrical shocks and chemical exposure, making repairs safer and more efficient.
Conclusion
By staying attentive to your pool cleaner’s needs and replacing worn parts promptly, you keep it running smoothly and avoid bigger headaches down the road. Think of it as tending a garden—you water and nurture it regularly, and it flourishes. With a little effort, you’ll have your cleaner working like new, making pool maintenance a breeze instead of a chore. Keep an eye, stay proactive, and enjoy a sparkling pool all season long.