
Building a pool is an exciting journey! Start with a design consultation to discuss your vision, then visualize it with 3D renderings. Next, secure necessary permits and prepare your site by marking the layout and excavating the area. After that, install plumbing and electrical systems, reinforce with steel, and apply gunite for durability. Finally, add those finishing touches and landscaping to complete your oasis. Want to know more about each step?
Key Takeaways
- Begin with a design consultation to establish desired pool features, aesthetics, and layout, followed by a 3D rendering for visualization.
- Secure necessary permits by researching local building codes and submitting documentation to the HOA, with the contractor typically managing the paperwork.
- Prepare the site by clearing and leveling the area, marking the pool outline, and excavating the pool area to the appropriate depth.
- Construct the pool structure by building walls, installing flooring, and integrating plumbing and electrical systems while ensuring compliance with safety codes.
- Finish the pool with tile, coping, lighting, and landscaping, and set up maintenance practices for water chemistry and cleaning schedules.
Step 1: Design Consultation

When planning your new pool, how do you envision its design? During the design consultation, you’ll discuss your desired pool appearance, features, and considerations based on the ages and swimming abilities of everyone using it.
This is your chance to explore options regarding the style, size, shape, and depth of your custom pool, ensuring it aligns with your preferences and property characteristics. In your initial meeting, it’s helpful to bring a survey or site plan for accurate measurements.
You’ll also receive a detailed quote and can talk about financing options, promoting transparency in costs. Finally, a 3D rendering will help you visualize how your pool fits within the surrounding landscape, allowing for any necessary adjustments before construction begins.
Step 2: 3D Rendering

During the 3D rendering phase, you’ll experience a transformative visualization of your pool design. Using innovative 3D design software, you’ll see a realistic representation of your pool alongside the surrounding landscape and outdoor living features.
This process not only enhances communication during the design consultation but also helps you clarify your aesthetic preferences. You can easily make adjustments to guarantee the pool meets your functional requirements and personal style.
The 3D rendering serves as an essential step, providing you with a tangible expectation of the final look and feel of your pool. By visualizing your project in detail, you can approach the next steps with confidence and excitement, knowing your vision is coming to life.
Step 3: Permits and Building Requirements
Before you plunge into construction, securing the necessary permits and approvals from local authorities is vital for your pool installation.
Start by researching your area’s specific building codes, as compliance guarantees safety and legality. You’ll need to submit documentation required by your Homeowners Association (HOA), while your pool contractor typically handles county permit paperwork.
This process can take up to one week, so it’s important to plan accordingly to avoid delays in your construction timeline. Coordination with local authorities helps navigate the approval process efficiently.
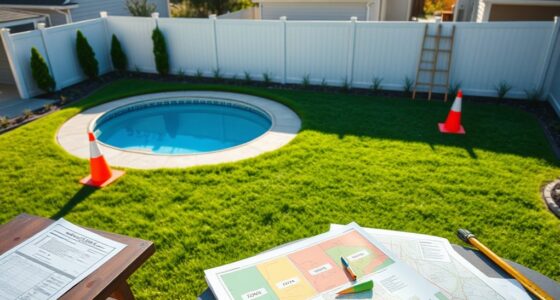
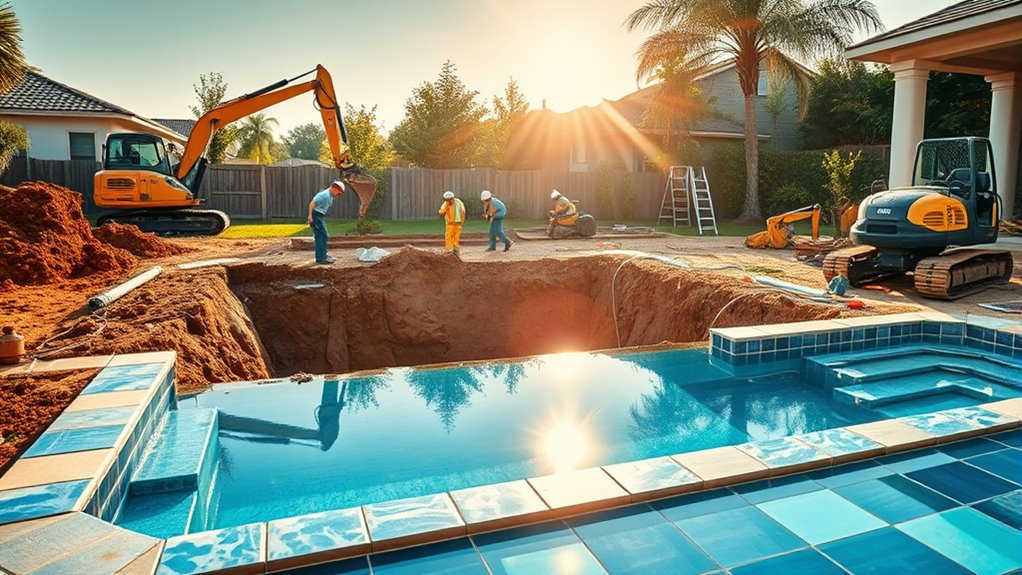
Step 4: Pool Layout and Excavation
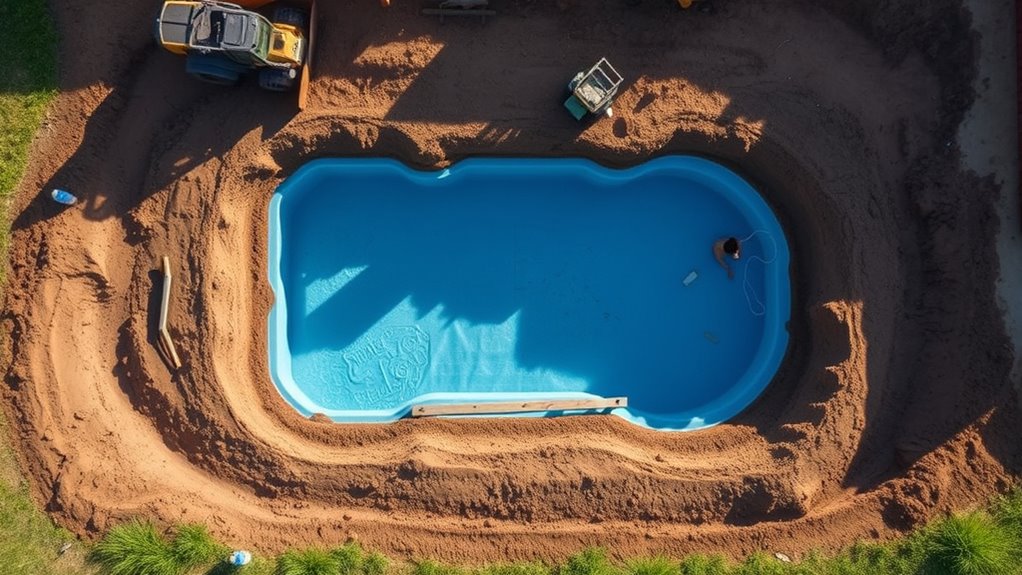
Step 4 of your pool project focuses on the essential tasks of layout and excavation.
First, you’ll work with designers and engineers to create a stunning pool layout, visually confirmed by spray painting the design on the ground. It’s critical to guarantee you’re satisfied with the proposed layout before moving forward, and you can take up to a week to make any revisions.
Collaborate with designers to create a stunning pool layout, ensuring satisfaction before finalizing the design.
Once everything’s set, excavation of the pool area begins, typically taking around two days to complete. Skilled craftspeople will carefully shape your backyard, assuring the pool’s structural depth is accurate and preserving surrounding areas.
A professionally excavated pool area is fundamental for the construction process, impacting your beautiful new pool’s longevity and stability.
Step 5: Plumbing and Electrical Installation
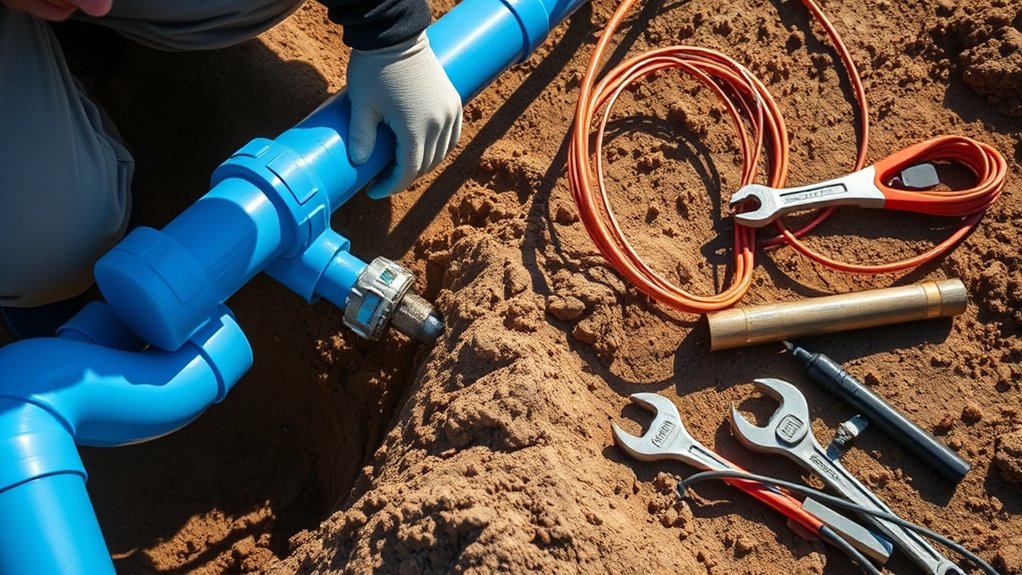
In Step 5, you’ll focus on plumbing and electrical installation, ensuring your pool functions smoothly.
You’ll connect the plumbing system to drains, skimmers, and any water features you’ve chosen, which may take about a week to complete.
Additionally, integrating electrical components for lighting and pumps during this phase is essential for safety and efficiency.
Plumbing System Installation
As you immerse yourself in the plumbing system installation, you’ll find it’s a vital step for guaranteeing your pool’s efficient circulation and water management.
This phase can take up to one week, especially as you navigate the necessary permits for compliance. The complexity of your plumbing system may increase with additional water features, requiring more intricate designs.
Here are some key aspects to reflect on:
- Main drain system: Essential for effective water removal.
- Skimmer installation: Helps in collecting debris and maintaining water quality.
- Advanced materials: Skilled technicians utilize high-quality materials for durability.
Proper plumbing guarantees that your circulation system operates smoothly, keeping your pool clean and enjoyable for years to come.
Electrical Component Setup
While you’re focusing on the plumbing installation, don’t overlook the importance of the electrical component setup, which is vital for your pool’s functionality.
This phase involves installing necessary wiring and connections for lighting, pumps, and features like heaters or automation systems. You’ll want to hire licensed contractors to handle this work, ensuring compliance with local codes and safety regulations.
The electrical component setup typically runs alongside the plumbing installation, connecting electrical components to the filtration system and any powered water features. Depending on the complexity, this process may take up to one week.
Proper electrical setup is essential for safe operation and maintenance, directly impacting your pool’s overall user experience.
Step 6: Steel Reinforcement
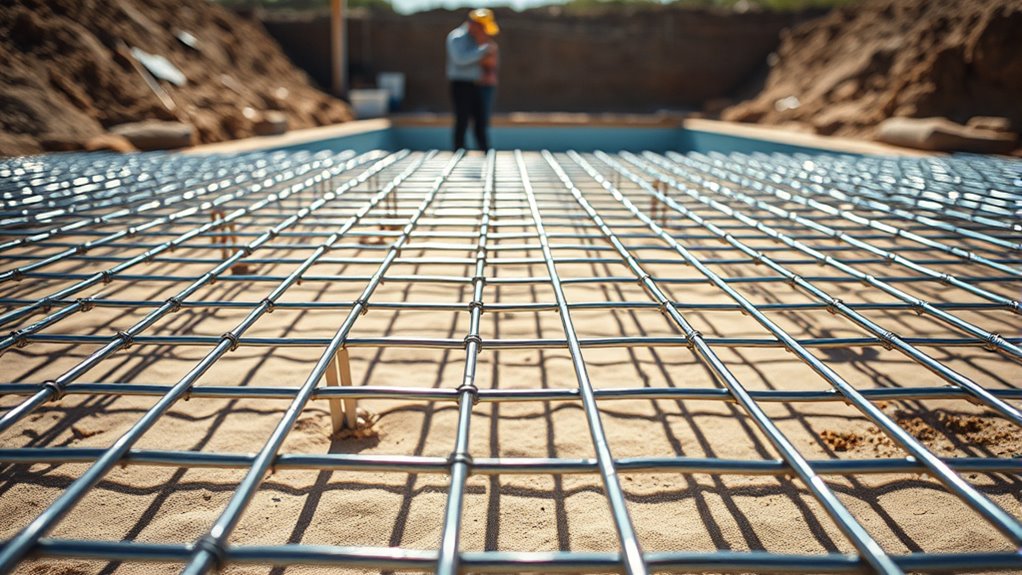
Steel reinforcement installation is a crucial step in the pool construction process, taking place in Week 3 and typically lasting about two days.
During this phase, builders carefully shape and position the steel cage, which is fundamental for providing structural support to your pool. You’ll have the chance to observe this process, helping you visualize the pool shape more clearly.
Proper steel installation considerably enhances the structural integrity of your pool, ensuring its longevity and durability. This critical step must be completed before you can proceed with pouring the concrete to form the pool shell.
- Increases overall stability
- Helps prevent cracks and shifts
- Essential for a durable finish
Step 7: Gunite Application

Once the steel reinforcement is in place, it’s time to move on to the gunite application, an essential step in creating your pool’s structural shell.
This process involves a specialized spray technique that applies a mixture of cement and sand, forming a durable foundation for your finished pool. Typically, the gunite application process takes approximately three days to complete, allowing the material to cure and dry adequately.
Once applied, the gunite shell requires about 28 days to fully cure, gaining strength and becoming watertight. This flexibility in design lets you customize shapes and features to fit your vision.
After the gunite application, you’ll prepare the pool’s interior for the final finishing touches, including plaster and tile installation.
Step 8: Finishing Touches and Landscaping
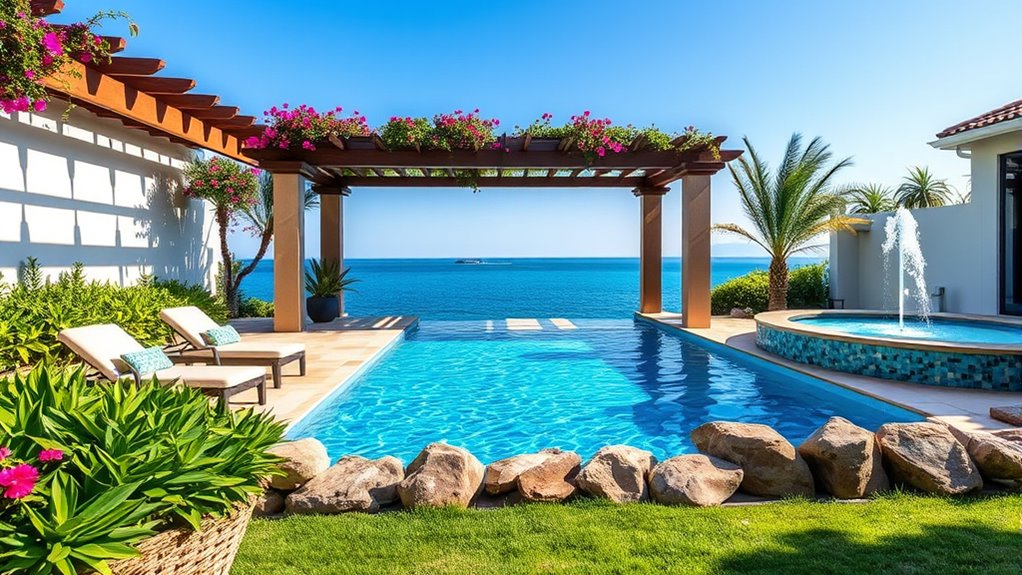
With the gunite shell in place, it’s time to focus on the finishing touches that will bring your pool to life. Start by installing tile and coping, ensuring level accuracy for an appealing look.
With the gunite shell completed, focus on adding tile and coping for a polished and appealing finish.
Following this, deck construction begins, where you can choose materials like concrete, pavers, or travertine based on your style.
Next, prepare the interior surface by applying a waterproofing agent and adding decorative features like step markers and mosaics.
Once you fill the pool, initiate the startup process by monitoring the water chemistry for ideal balance.
Finally, landscaping enhances your outdoor space’s beauty and functionality after the deck’s final coating has dried.
- Install tile and coping
- Choose deck materials
- Monitor water chemistry
Frequently Asked Questions
What Are the Stages of Building a Pool?
When you’re building a pool, you’ll go through several key stages.
First, you’ll consult on the design and get a 3D rendering. Once you approve the design, you’ll obtain permits and excavate the area, which usually takes a couple of days.
Next, you’ll install a steel structure, followed by plumbing and electrical work.
Finally, you’ll apply shotcrete, add tiles and decking, and fill the pool, ensuring everything’s balanced and ready for use.
What Are the Steps for Pool Start Up?
So, you’re ready to plunge into pool ownership, huh?
First, you’ll add the right chemicals to balance your water—don’t worry, they won’t bite!
Then, you’ll set out on a “soft start-up” over 30 days, where experts keep an eye on things while you sip lemonade.
Finally, you’ll get educated on maintenance, complete with a kit that’ll make you feel like a pro.
Enjoy swimming in your sparkling oasis!
What Are the Steps in Building a Concrete Pool?
When you’re building a concrete pool, start with a design consultation to outline features and aesthetics.
Once permits are secured, excavation shapes the site.
In Week 3, install steel reinforcement for support, then add plumbing systems.
After that, apply shotcrete to form the shell, followed by tiles and coping.
Complete the finishing touches, fill the pool with water, and balance the chemicals for ideal water quality.
Enjoy your new oasis!
What Is the Timeline for Building a Pool?
The timeline for building a pool typically spans 8 to 12 weeks, depending on design and weather.
You’ll start with permit acquisition, which can take up to a week before excavation, lasting around 2 days.
Steel installation follows in Week 3, taking about 2 days.
Expect plumbing and electrical work to last up to a week, while shotcrete application, tile, and decking installation will add several more days before you enjoy your new pool.
Conclusion
Now that you’ve navigated the steps to building your dream pool, you might wonder: is it really worth the investment? The truth is, a well-designed pool can enhance your property value and provide endless enjoyment for family and friends. Plus, with the right planning and execution, it can become a stunning oasis that transforms your backyard. So, as you embark on this adventure, remember that the joy and relaxation a pool brings are well worth the effort!